White Paper Test
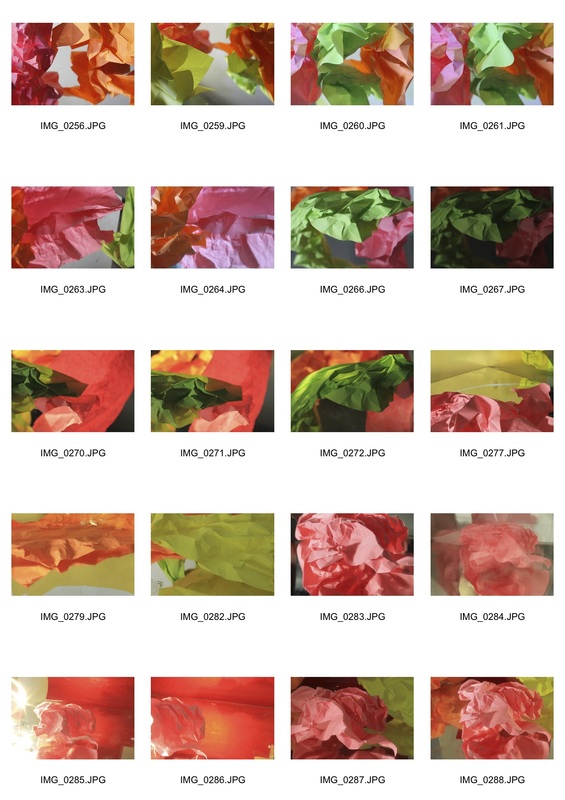
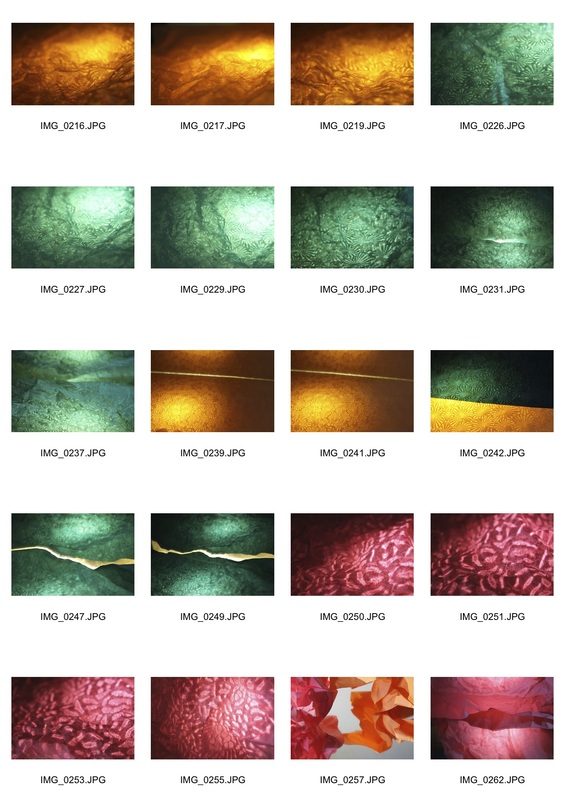
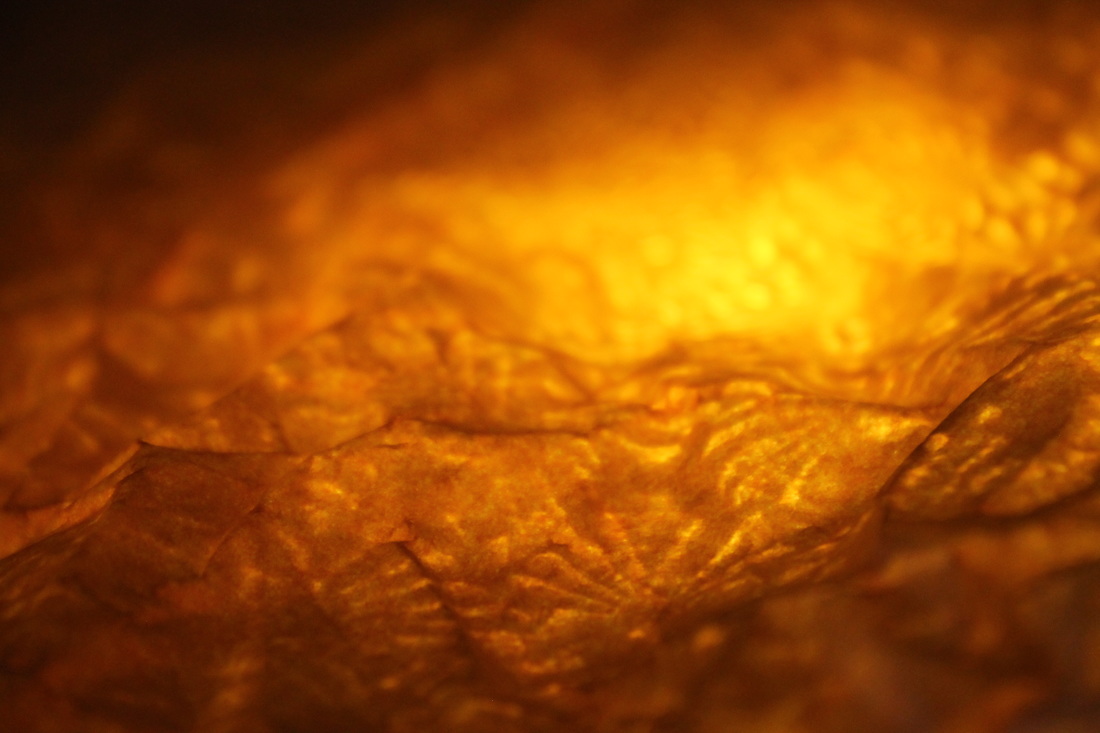
The task was to make 24 unique photographs from one piece of paper, by either rolling, crumpling or folding it. I shot my photos in a studio using a white background and soft light. I also used some colour filters at times, to give each image a different effect.

|
|
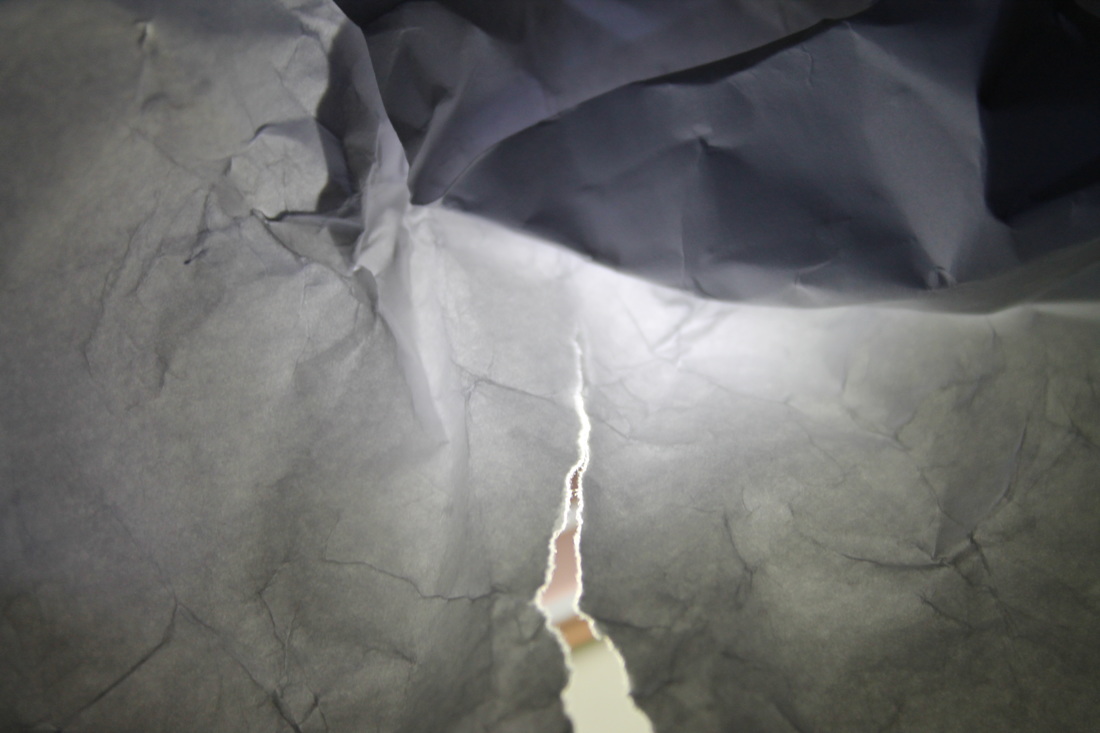
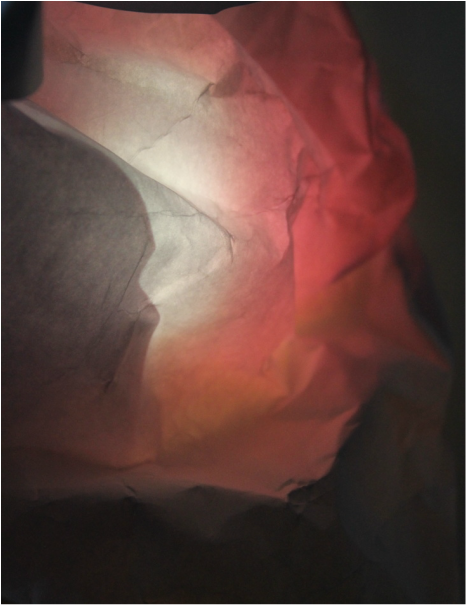
What Went Well: I am happy with the lighting and different shades of colour that appeared when I shined my phone light through the paper at different angles. I am also happy with the amount of shapes I could make with a single piece of paper.
Even Better If: The framing of some photos could be better, as in some images there are some unwanted objects in the background.
Even Better If: The framing of some photos could be better, as in some images there are some unwanted objects in the background.
Abstract Development
Brendan Austin
|
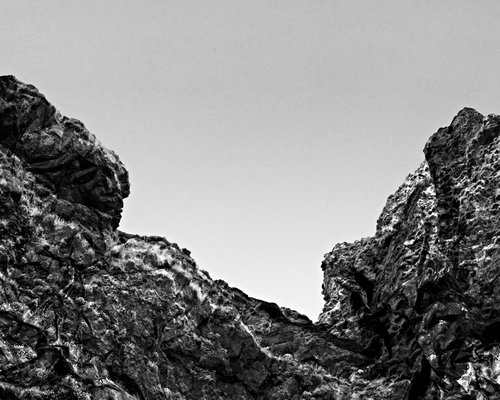
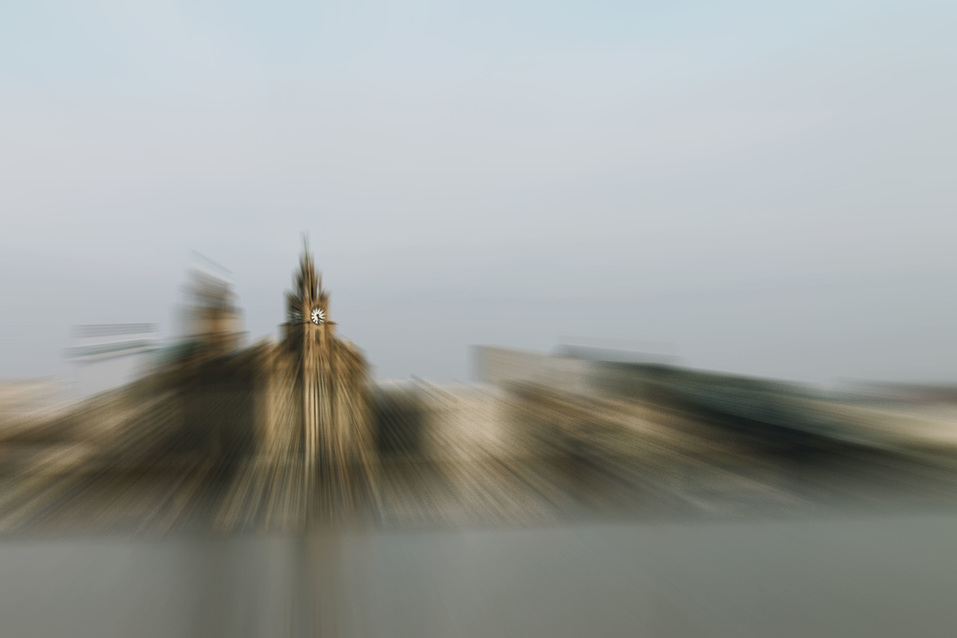
This image is part of the artists 'Paper Mountains' project and I think the photo is really effective. The image has the effect of really looking as if the artist was looking up at a mountain when taking this photograph, but in reality its just small bits of paper. The image is framed very well which helps add to the effect and the texture of the paper gives off a fluffy effect, and look as if they are clouds. The bleak colours used also add to the winter like
atmosphere of the photo. |
Jaroslav Rossler

|
I really like this photo as it is a great representation of Abstraction due to its abnormal features. The image appears to show a piece of paper which has been folded many times, however the image is very confusing to look at logically for viewers who look closer. The lighting and use of shadows adds to the mysterious and abstract nature of the photo, as well as the use of colours and framing. The photo is framed cleverly so it appears that the material in the image is 3D, and this is further helped by the placement of shadows in the photo to make the image look more abstract.
|
Response
|
|


|

|
Abstract Experiments
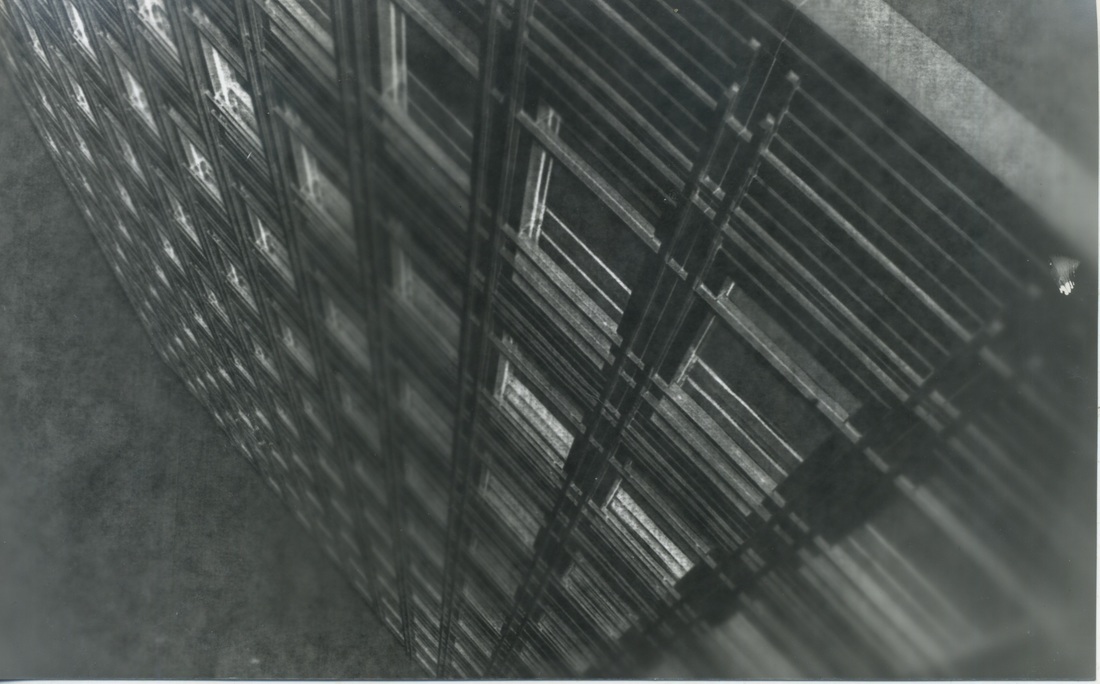
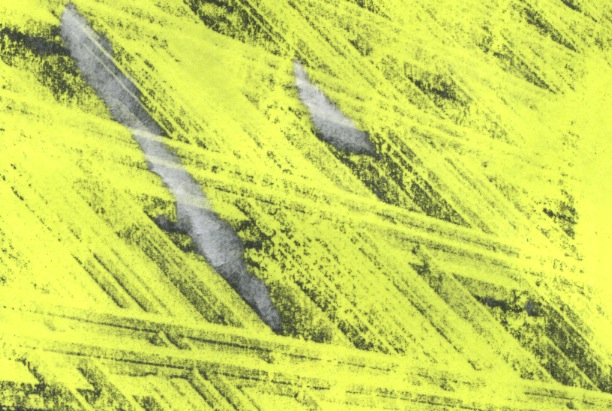
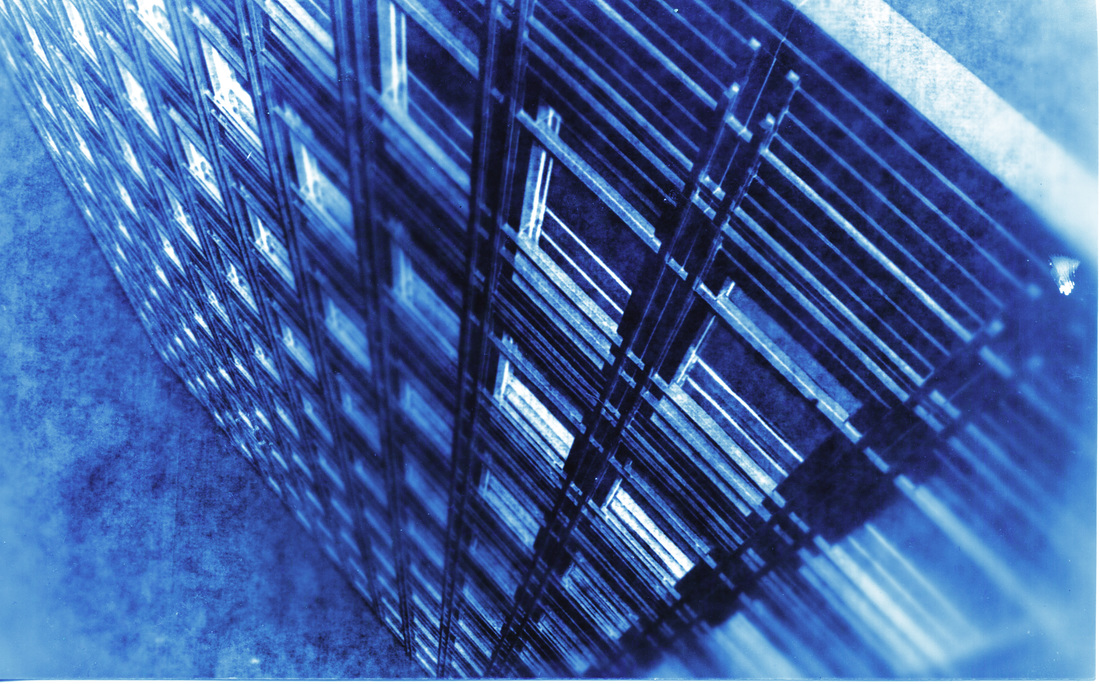
Using a photo taken on a film camera, I used the darkroom process to create different types of photograms using different techniques. This includes painting with developer (2 photograms in the middle of the line below) and using nail polish to rub an image on to a piece of paper (seen below on the far right).


Photoshop - Layers and Filters
After scanning in the results of 'Abstract Experiments' into Photoshop, I started to experiment with them using different tools. I added multiple layers to the images using different filters and tools such as the Selective Colour tool and the Smudge tool to give each photo a contrasting abstract tone.


What Went Well: I think that the effect of the selective colour tool added greatly to the original photograms as it gave them more definition and distinction with an interesting range of colours.
Even Better If: I could have potentially used more tools on Photoshop to make sure that each images varies from one another.
Even Better If: I could have potentially used more tools on Photoshop to make sure that each images varies from one another.
Final Piece

Abstraction hw
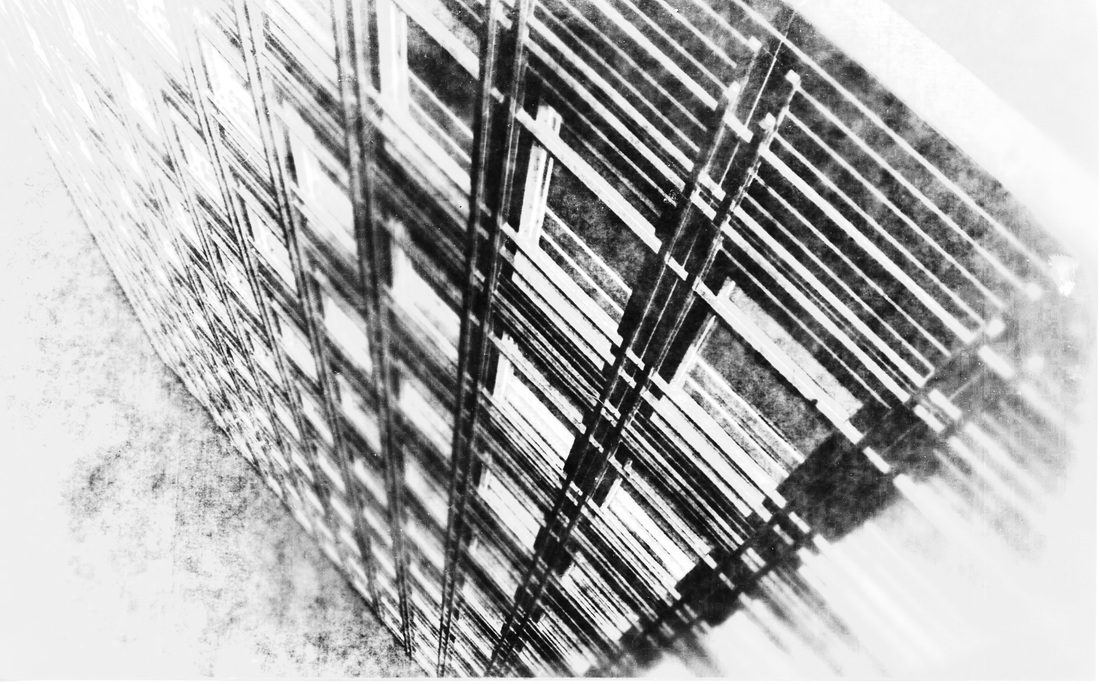
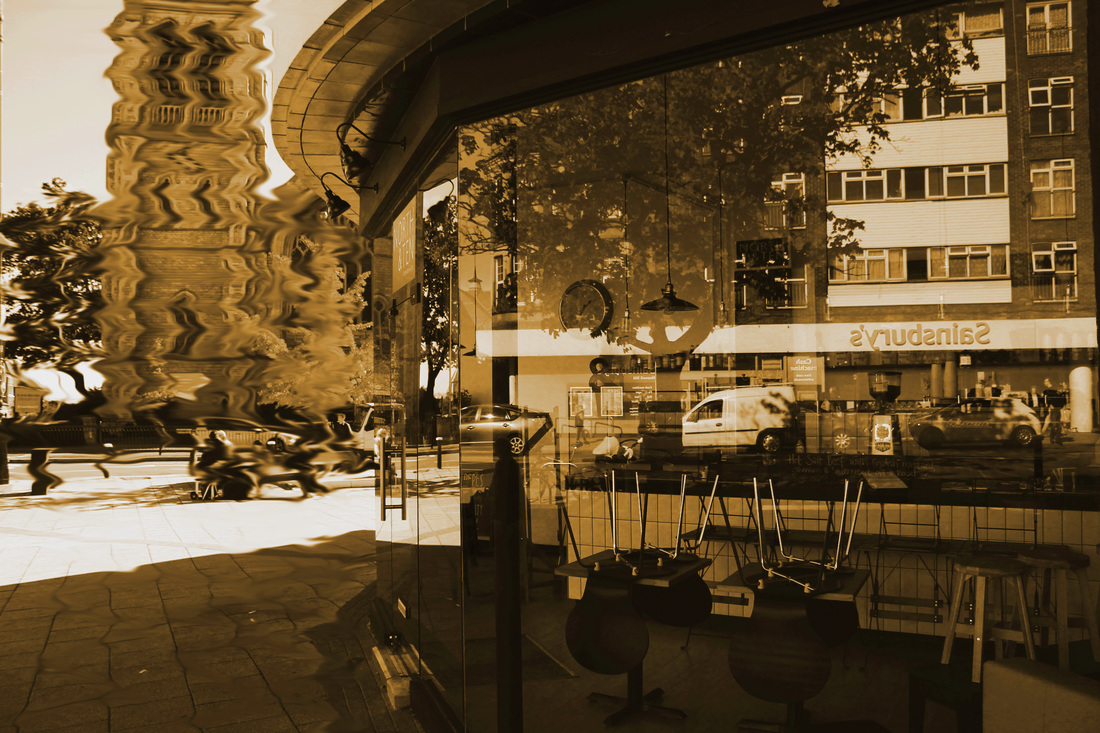
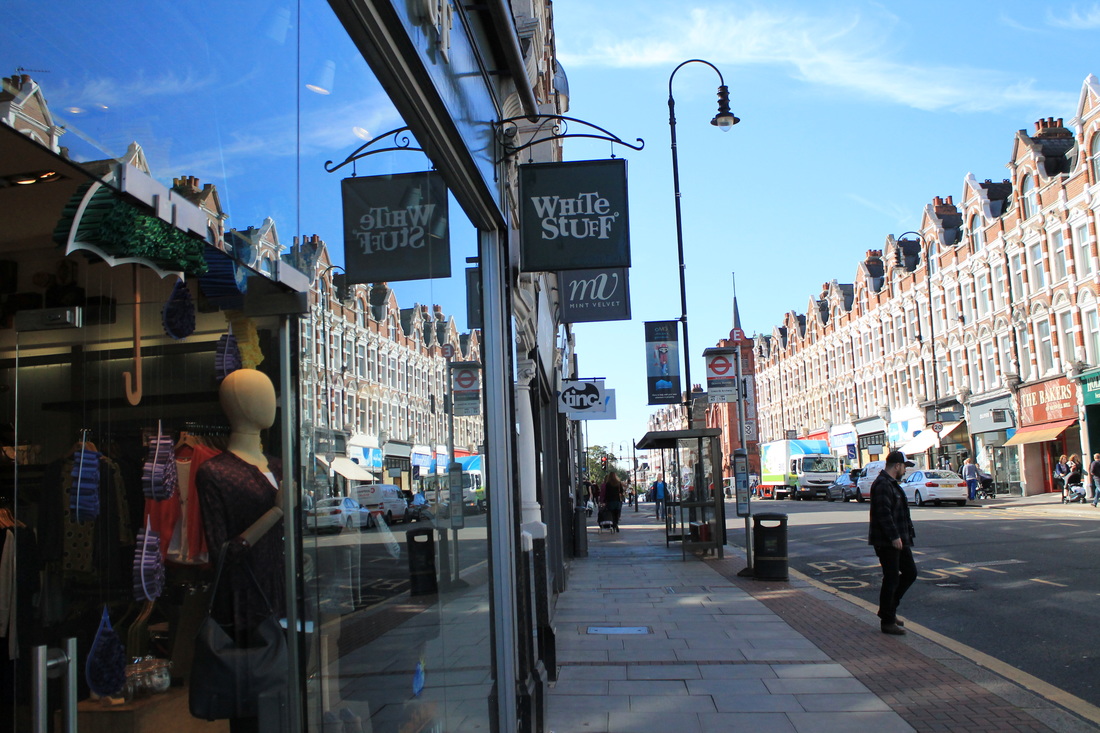
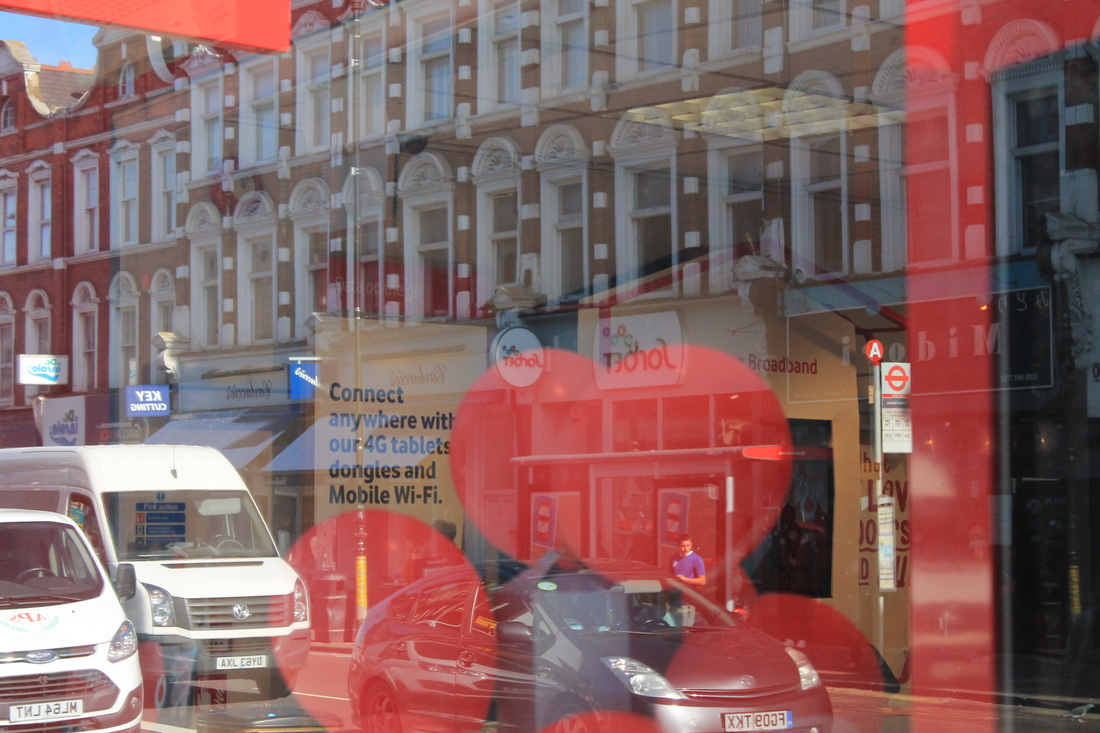
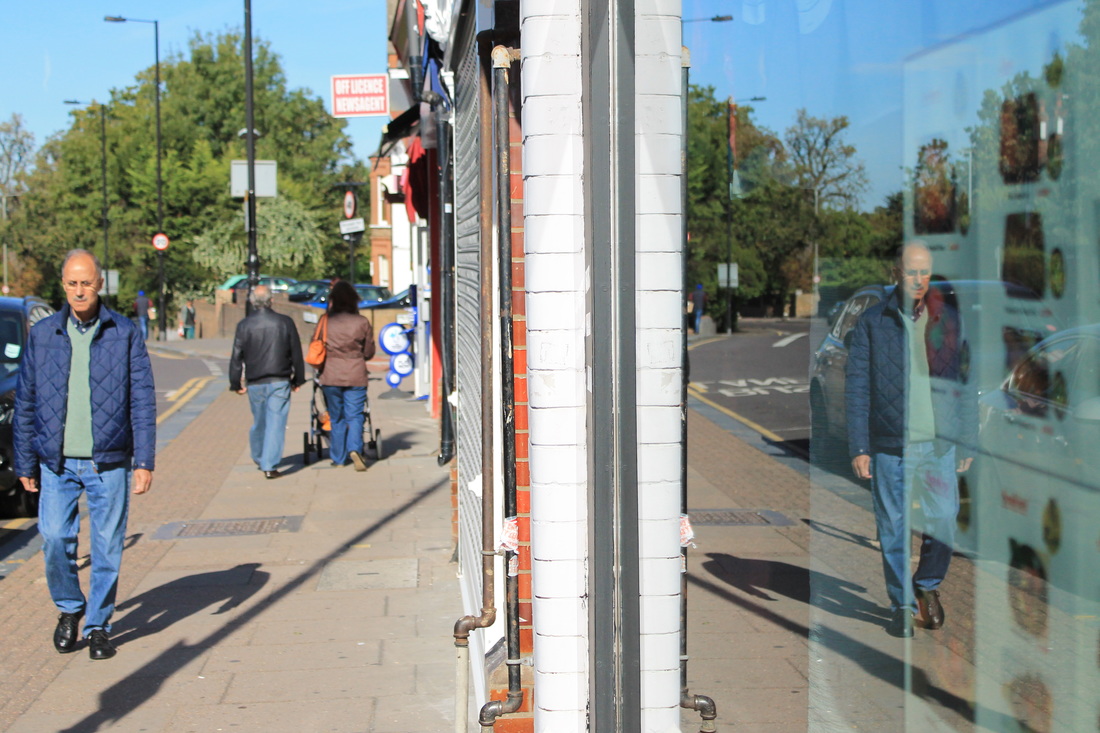
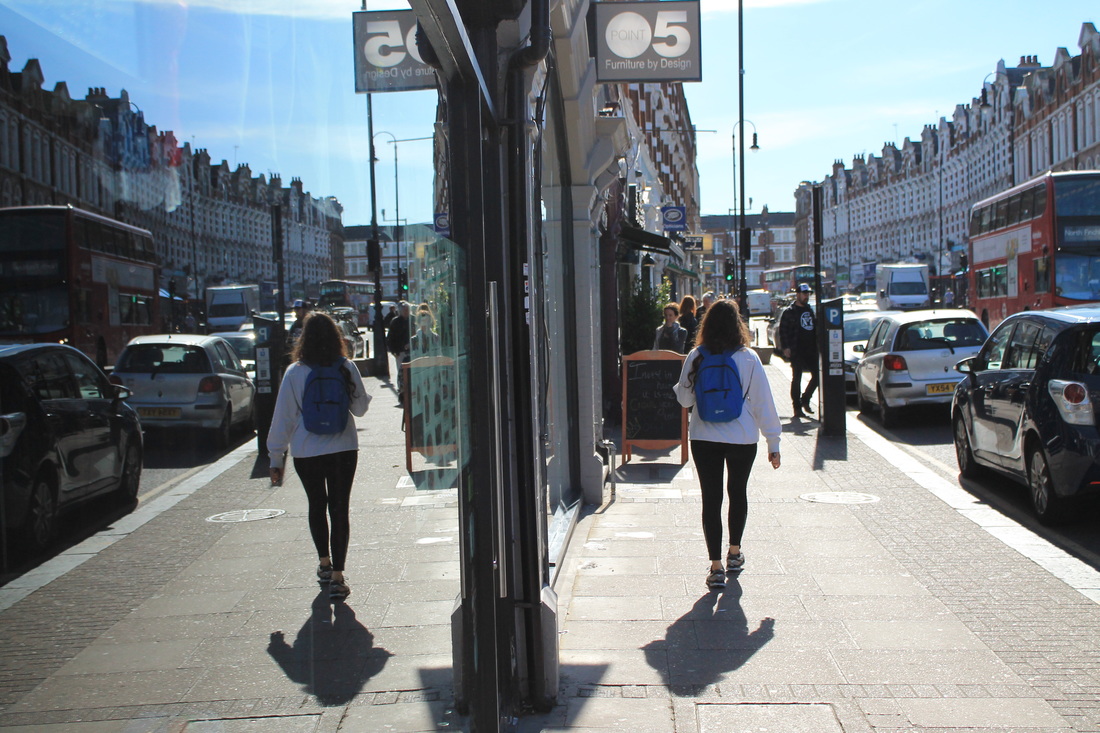
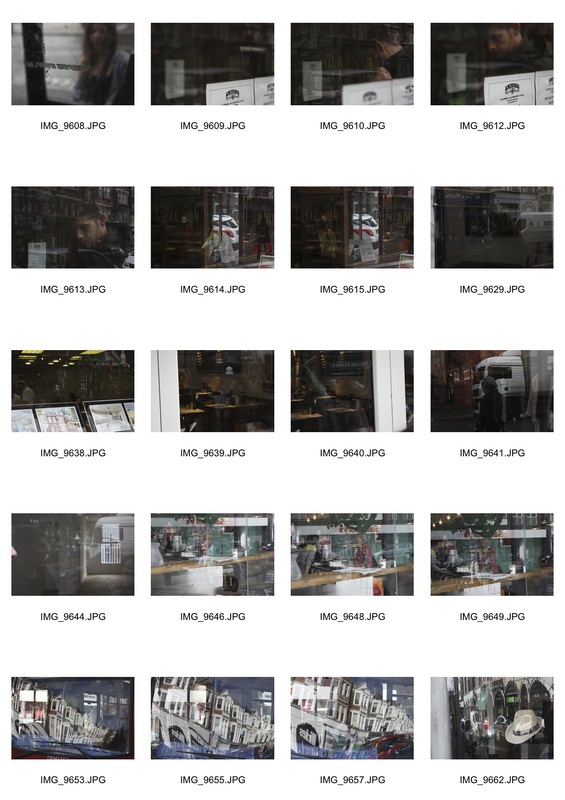
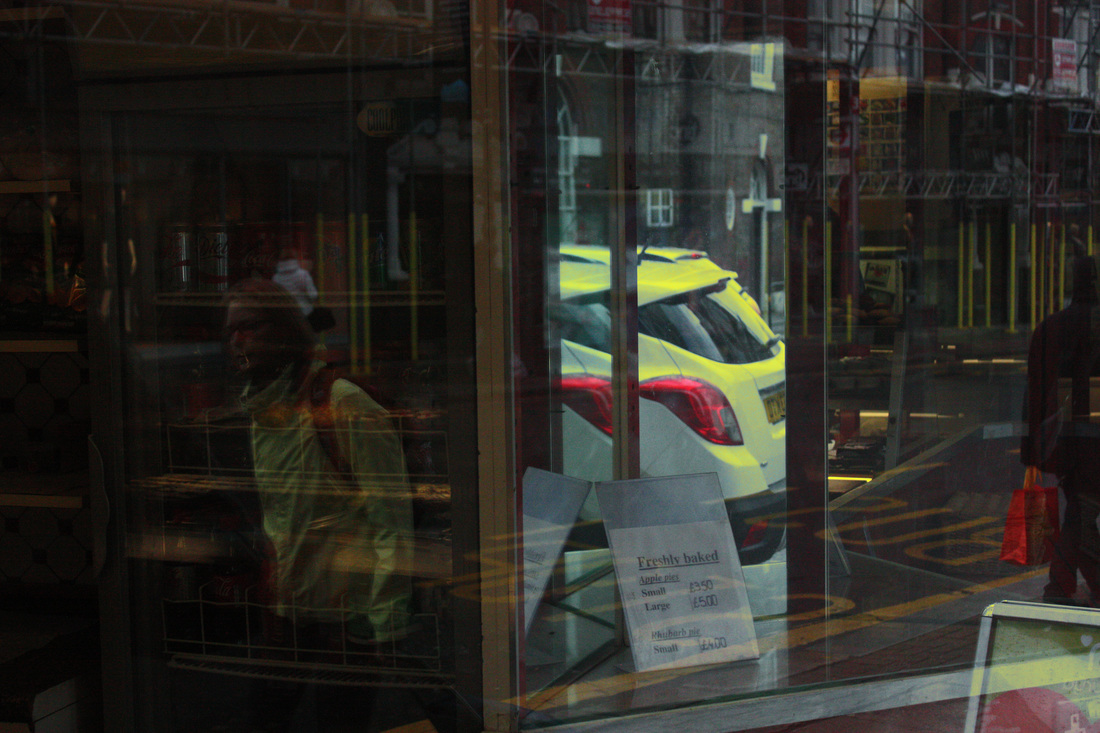
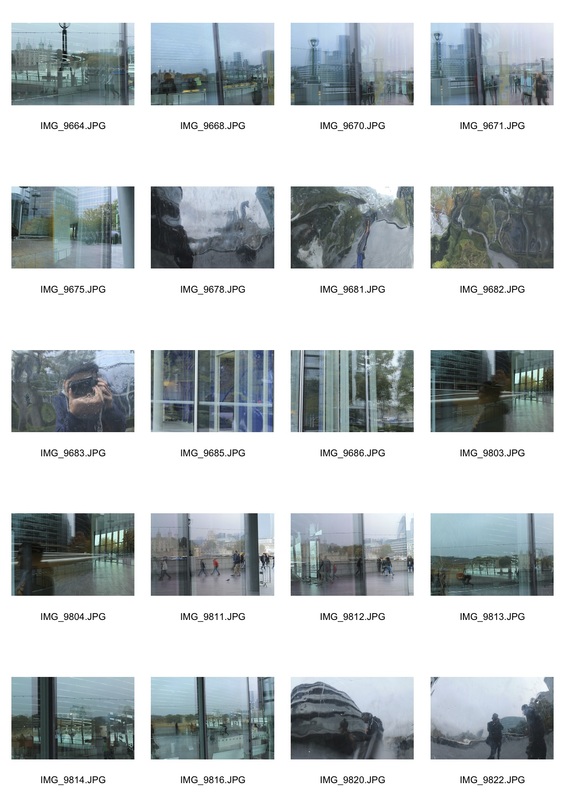
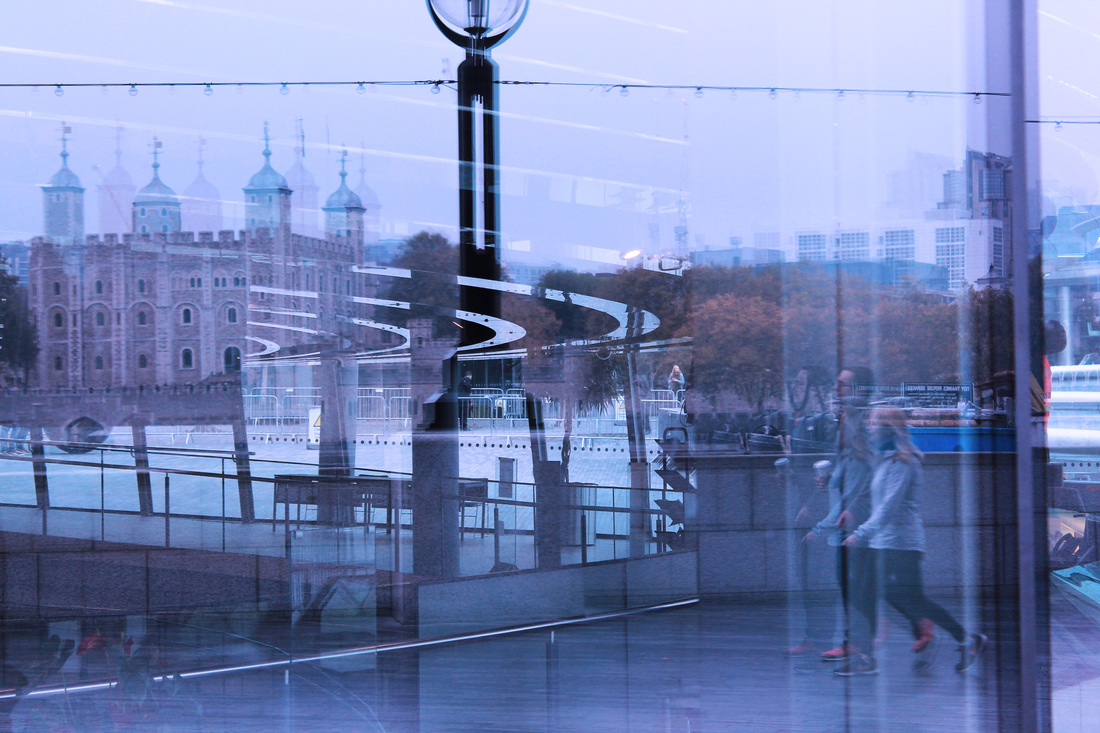
For this exercise, I travelled around Muswell Hill to take some images which I thought represented abstraction. I mainly took photos of glass panes in shops and experimented with reflections, the results were a good starting point for future work. I like these sorts of images as they combine the real world and a mirror world, so the photos produced are always abstract and visually appeasing.


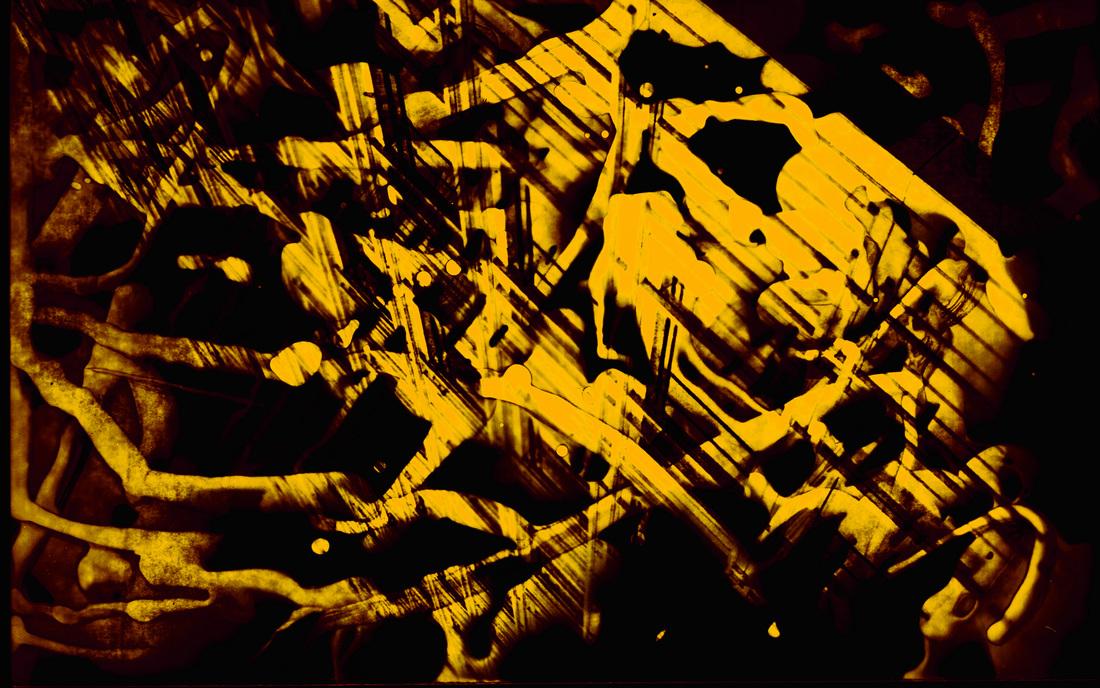
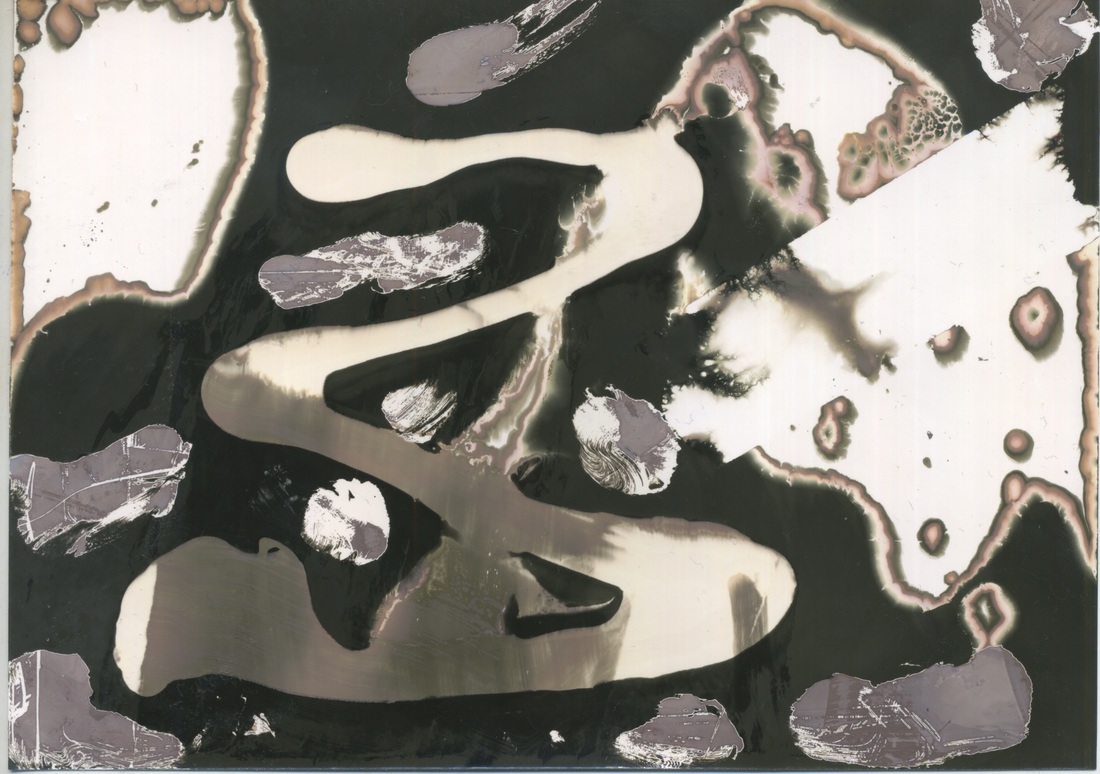
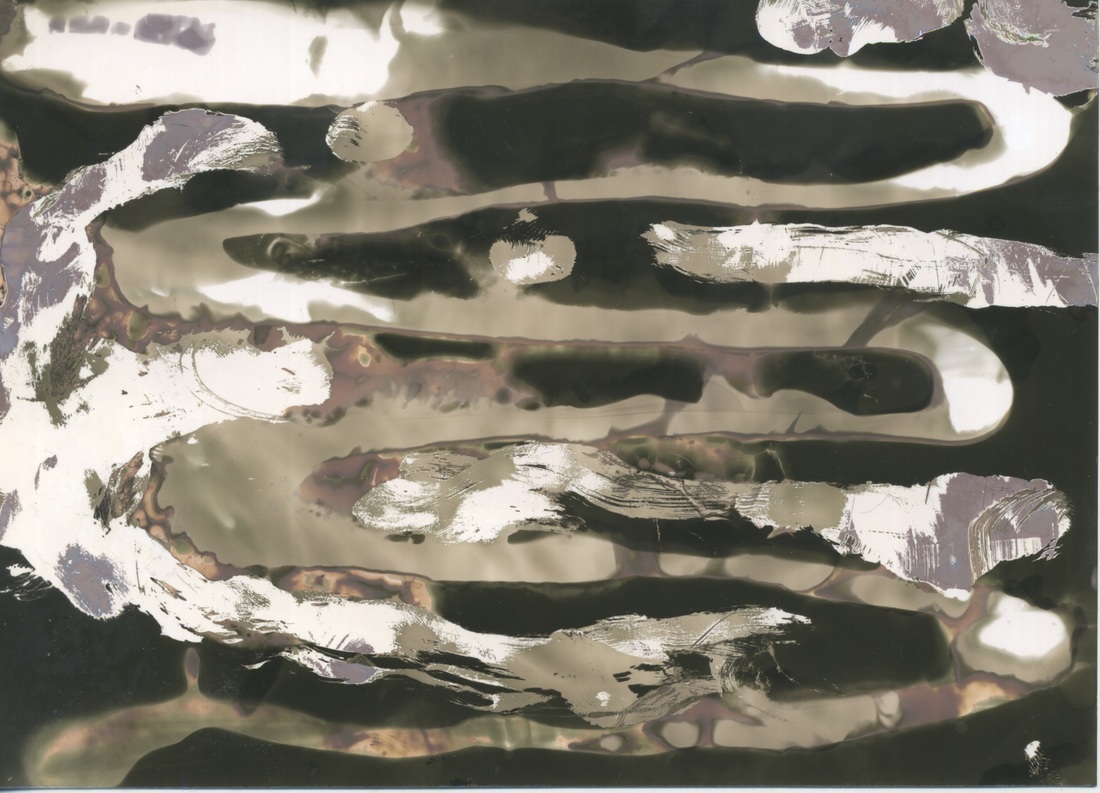
Chemigrams
The Chemigram process involved using photographic paper separate from the darkroom, so it had already been exposed to light. I then used different products such as honey, Nivea cream, and masking tape to create a pattern on the paper. Then, using trays of developer, fix and washing up liquid, I placed my paper into either one of the developer trays or the fix trays. If placed in the developer first, the background will turn black, and if placed in the fix first, the background will turn white. The paper can then be switched around between the developer and the fix multiple times to create different patterns, textures and colours on the paper, before being placed into the washing up liquid to wash off all of the products initially placed on the paper. I finally put the paper into the fix for around 5 minutes and the Chemigram results are below. I am very happy with how they turned out, as I think they are a great representation of abstraction.
|
|
Abstract Portrait
Bill Jacobson
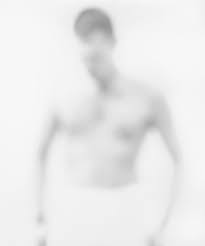
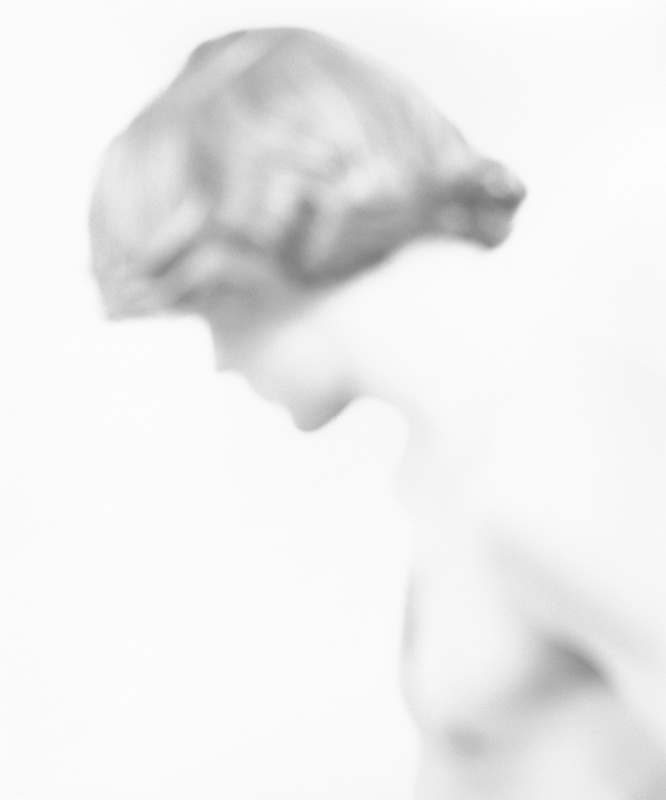
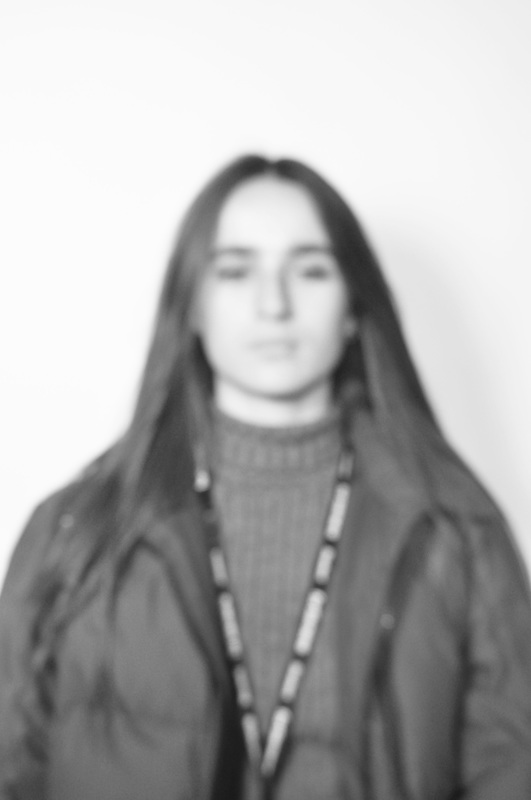
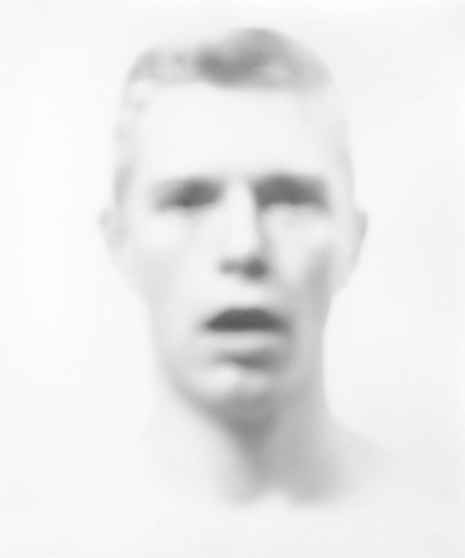
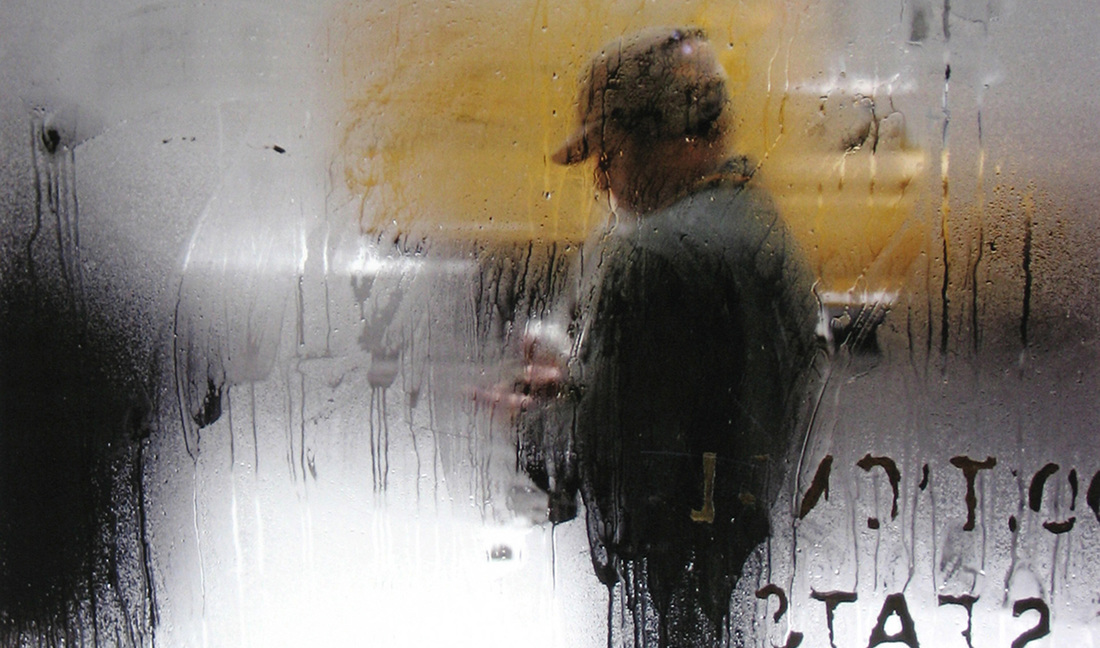
Bill Jacobson makes abstract portraits in which its edges and features are softened and blurred in a painterly style. He does this by forcing images that were taken in focus out of focus, resulting in a defocused monochromic image. This style of photo reflects his preoccupation with loss and mortality in the 1990's; themes which are closely tied with his observations of the AIDs epidemic.
His way of thinking was influenced by early 20th century photography and the blurred, obscured subjects of early pioneers of the time. During the 1980s, Jacobson collected anonymous snapshots of flea markets, describing them as 'a parallel for the passage of time, illness or death'. It is clear he wishes to transport the viewer back to the precise moment of a photographs making, and sees his own work as a 'metaphor for an inner state or interior way of being'. Combining elements of beauty and melancholy, Bill Jacobson conveys a sense of futility in trying to capture a human likeness in memory, helping to support Roland Barthes' point that every photograph is of a dead moment.
His way of thinking was influenced by early 20th century photography and the blurred, obscured subjects of early pioneers of the time. During the 1980s, Jacobson collected anonymous snapshots of flea markets, describing them as 'a parallel for the passage of time, illness or death'. It is clear he wishes to transport the viewer back to the precise moment of a photographs making, and sees his own work as a 'metaphor for an inner state or interior way of being'. Combining elements of beauty and melancholy, Bill Jacobson conveys a sense of futility in trying to capture a human likeness in memory, helping to support Roland Barthes' point that every photograph is of a dead moment.

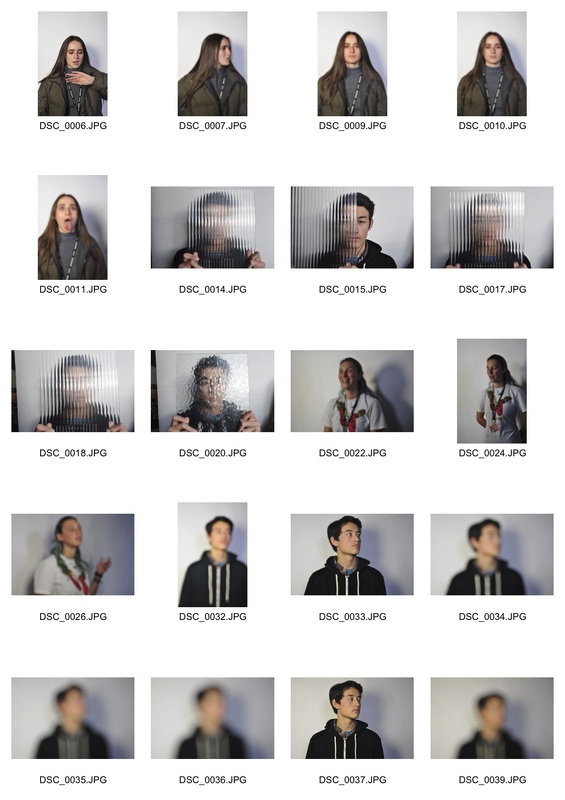
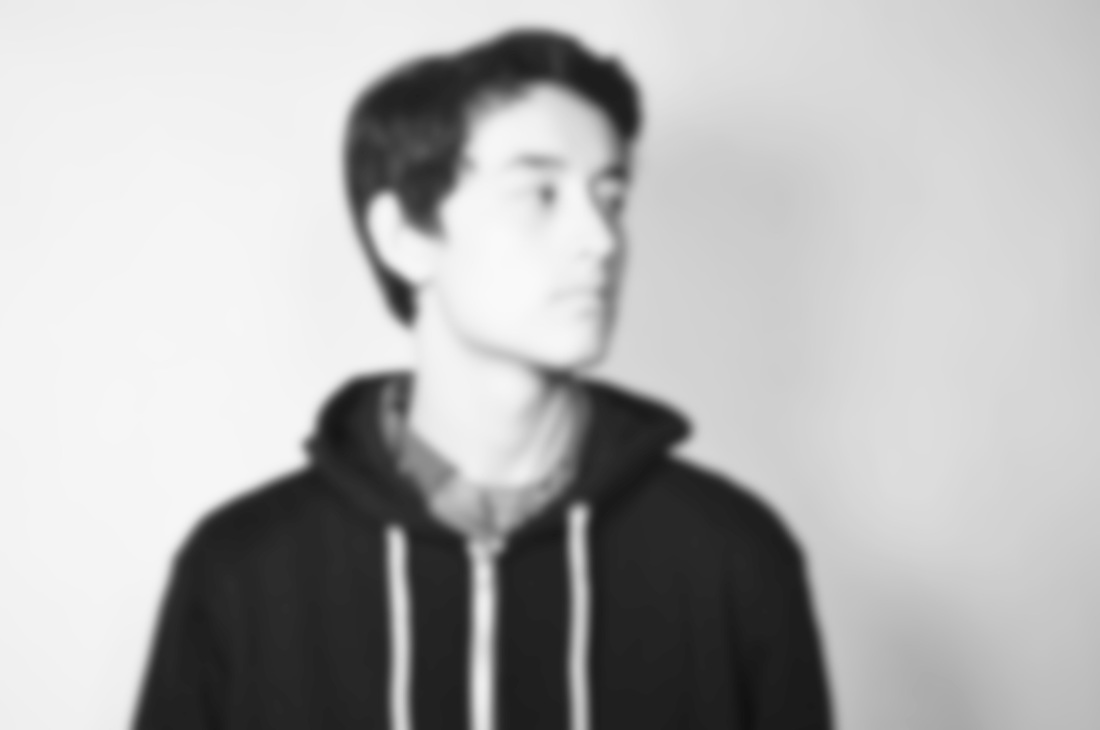
Response

|
|
Artist and Me
|
Bill Jacobson's Work
|
My Work

I think that I captured the essence and effect of Bill Jacobson's work, however that are a few differences in the photos that make the artists image more effective. For example, in my photo, the subject is wearing black and has black hair, which stand out from the photo and take away from the overall effect of the image. In order for my image to be more effective, I would have to choose a subject more suited to the style of the image e.g. wears clothes that don't stand out so much.
|
erwin BlumenFeld
Erwin Blumenfeld (1897 - 1969) was a photographer born in Germany, and was regarded as "one of the most innovative and influential photographers of the 20th Century". Most well known for his fashion photography for Vogue in the 1940s and 50s, he also produced an extensive body of celebrity portraiture, fine art photography, black and white nude photography and advertising campaigns. Renowned for being an experimenter and innovator, Blumenfeld drew early inspiration from Dadaists and incorporated several experimental techniques such as solarization, photomontage and multiple exposures into his darkroom practise.
+ Show options
Abstraction and Distortion Clip 42 - Erwin Blumenfeld from Karen Ardilla on Vimeo.
Response
Saul Leiter
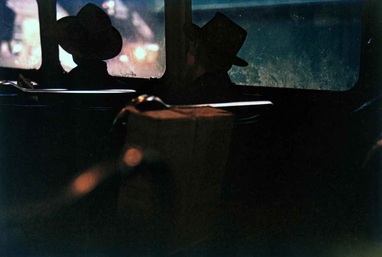
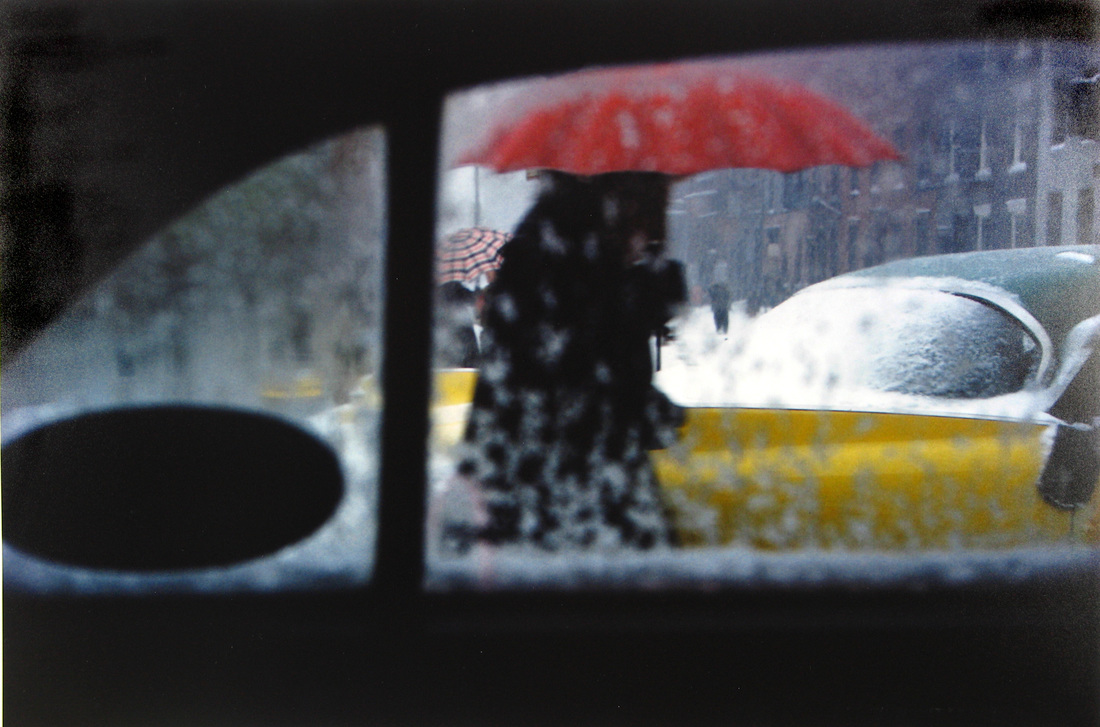
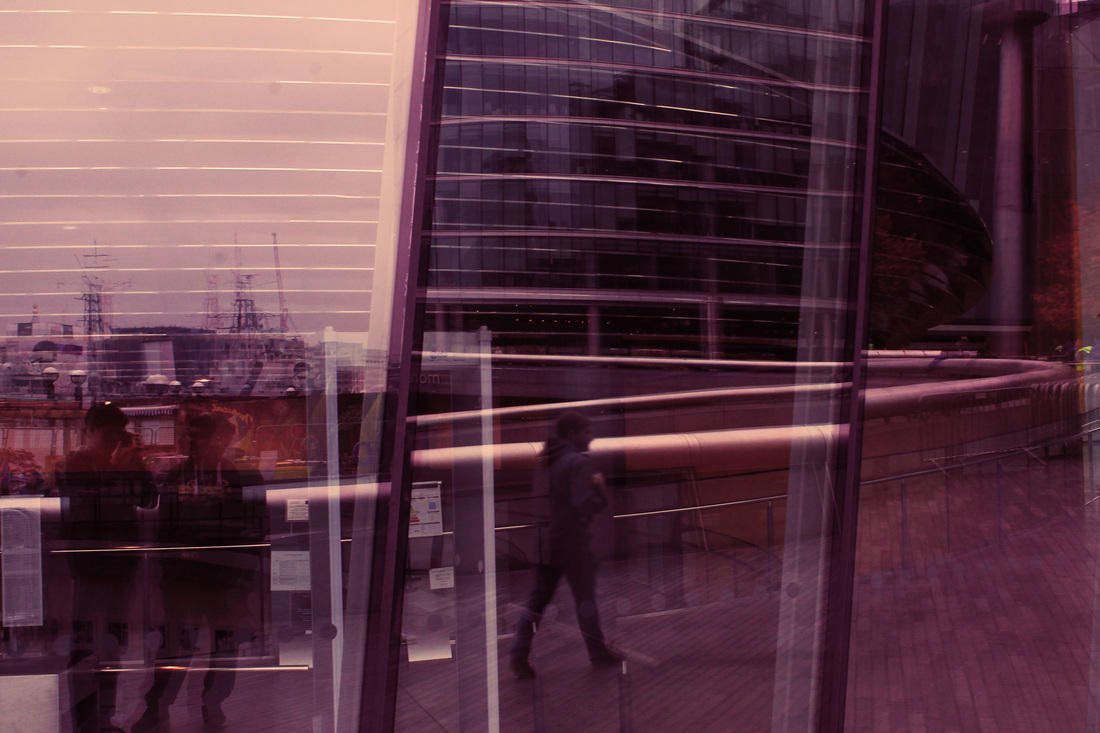
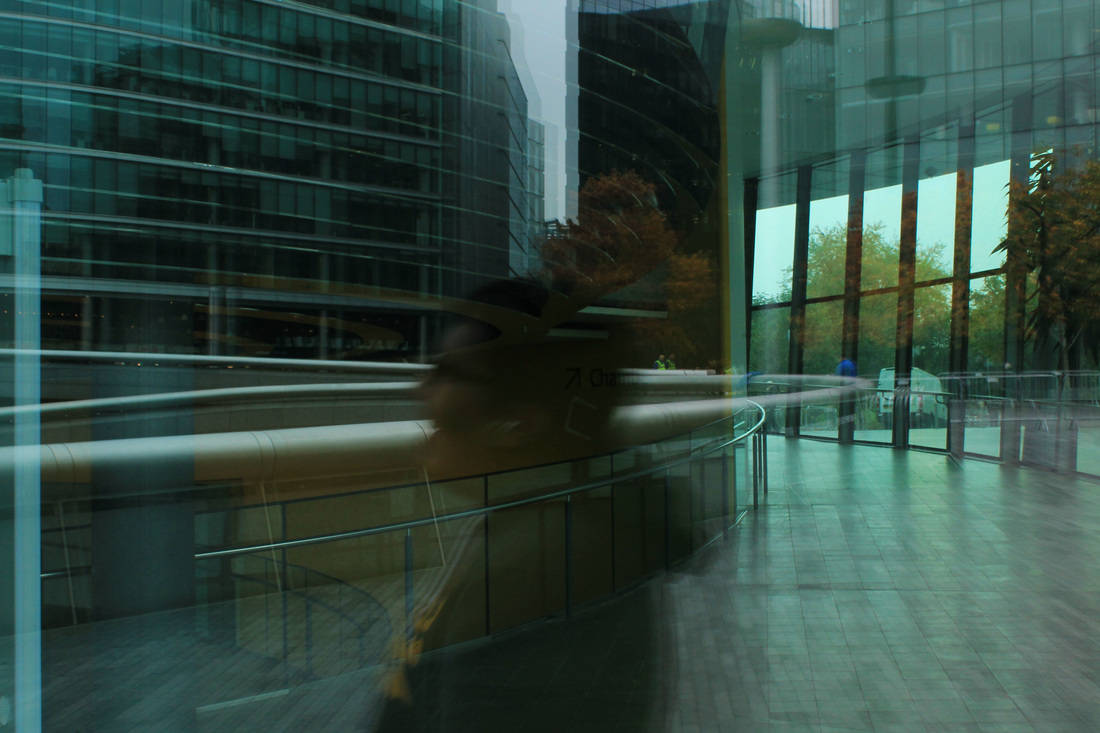
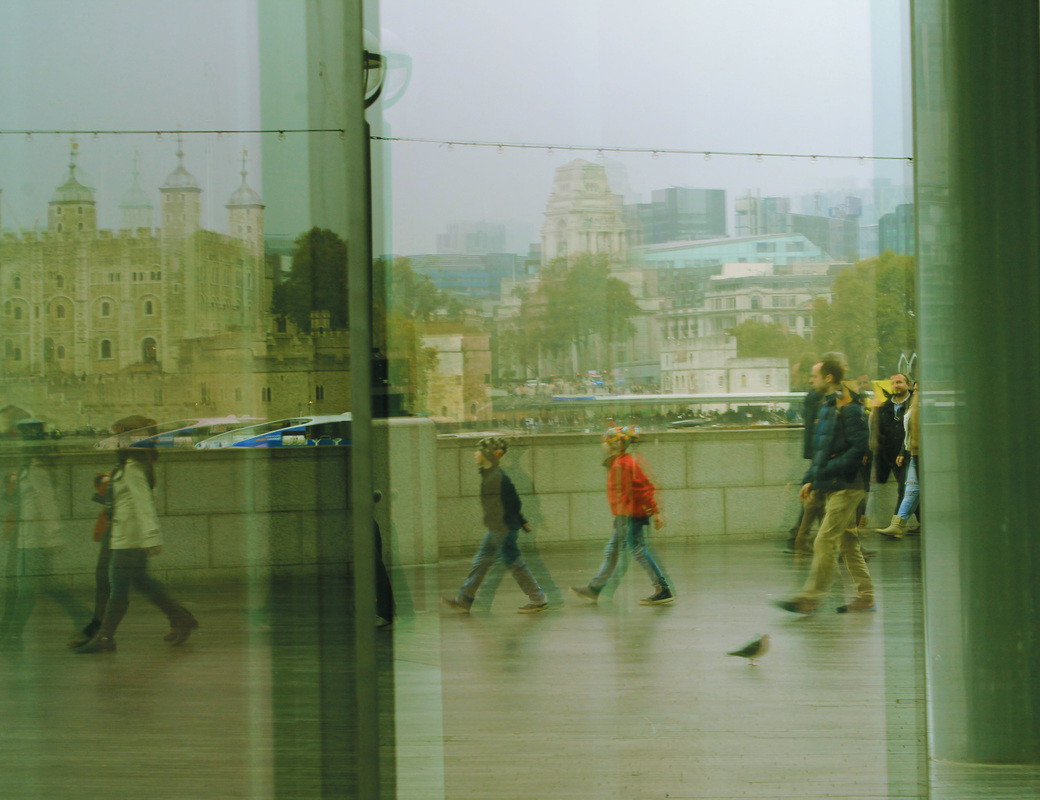
Saul Leiter (December 3, 1923 – November 26, 2013), was an American photographer and painter born in Pennsylvania whose work in the mid 20th century became an important contribution to what became known as the 'New York School Of Photography'. Since Leiter first arrived in New York, he had been documenting and capturing street life in black and white, intriguing many with his abstract use of blurred movement, framing and obstructions. His work was identified by Jane Livingston in 1992, who included Leiter in her 'New York School Of Photography': a group comprised of mid 20th century photographers with a film noir inspired vision of the city streets. Leiter was also seen as a pioneer of colour photography, developing a distinctive style which saw him experiment with shallow depths of field and a vibrant palette of strong colours, creating a dreamy effect as a result. Critics argue that these images stem from his love of painting, commenting that, 'You can see the influences of abstract expressionism in his colour work'.
Response
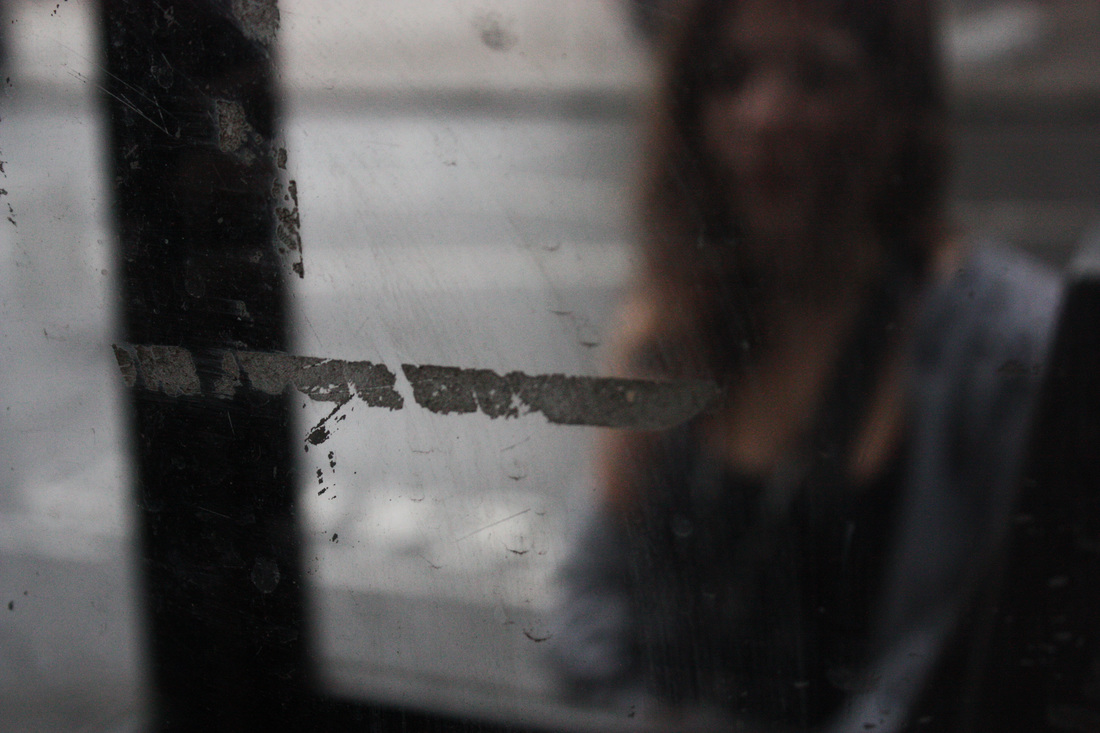
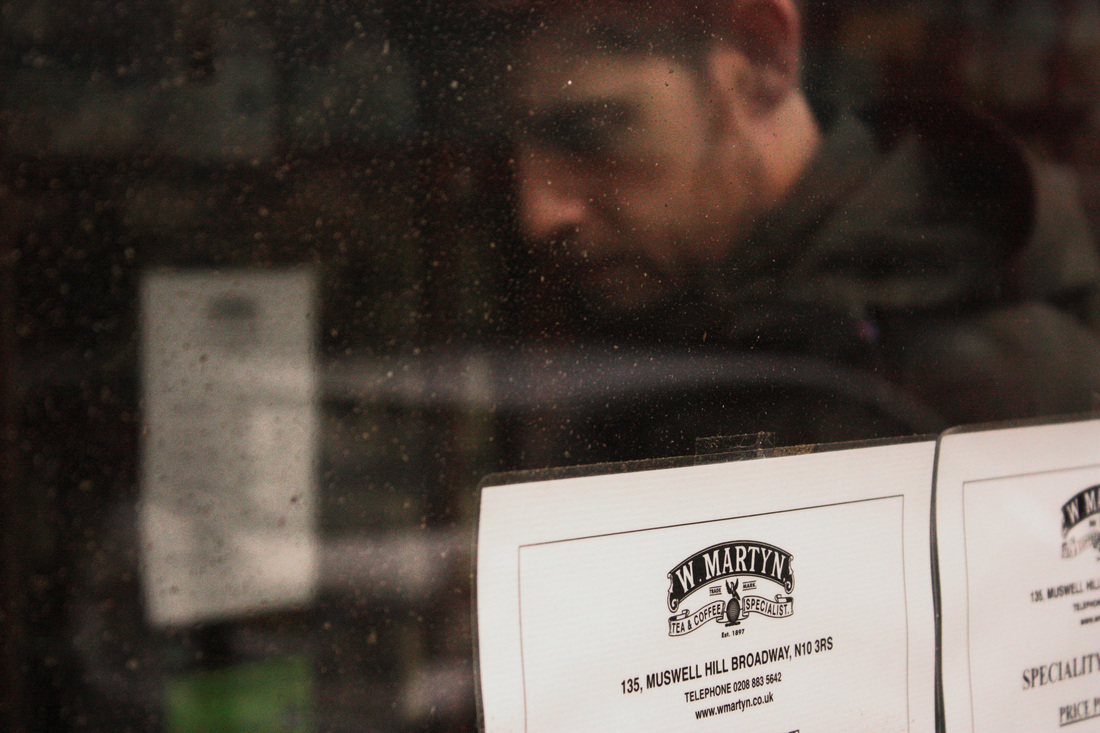
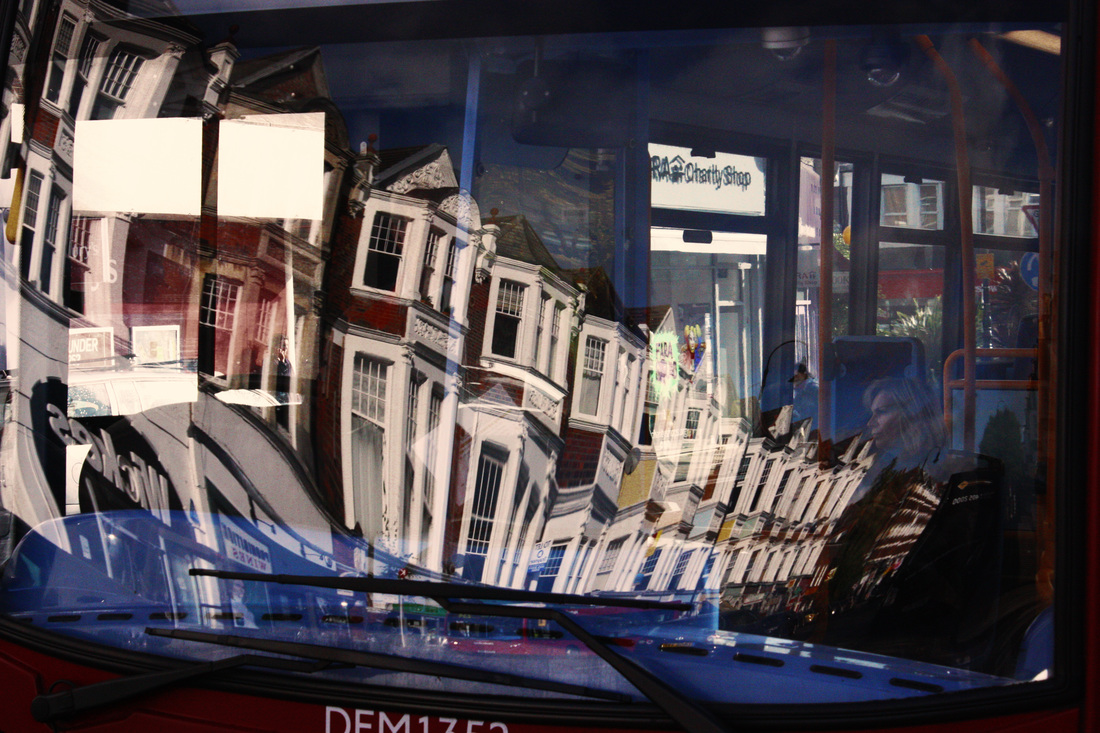
What Went Well: I feel that I captured the 'film noir' vision of a city that Saul Leiter was inspired by, and I also feel that I used glass and reflections well in order to distort the subject. I think that the darkness in Saul Leiters images was also replicated in my own, further adding to the 'film noir' vision.
Even Better If: Some of the photos I took didn't have a clear subject, and I also feel that I could have used some of the vibrant colours that Saul Leiter used whilst also capturing his 'film noir' vision at the same time.
Even Better If: Some of the photos I took didn't have a clear subject, and I also feel that I could have used some of the vibrant colours that Saul Leiter used whilst also capturing his 'film noir' vision at the same time.
Strands
1st STrand - Saul Leiter
I chose Saul Leiter as my first influence as I really like the 'film noir' vision of a city that is evident throughout all his photos. I also like the strong, bold, vibrant colours that he uses in almost every one of his images, as they make certain parts of the photo stand out effectively. The artist often uses glass panes and reflections in order to give his images a mysterious atmosphere, something which I feel I am good at myself. I was also happy with my first response to his work earlier on in the unit, as I think that they were very effective and a great representation of Abstraction.

Strand 2 - Fong Qi Wei
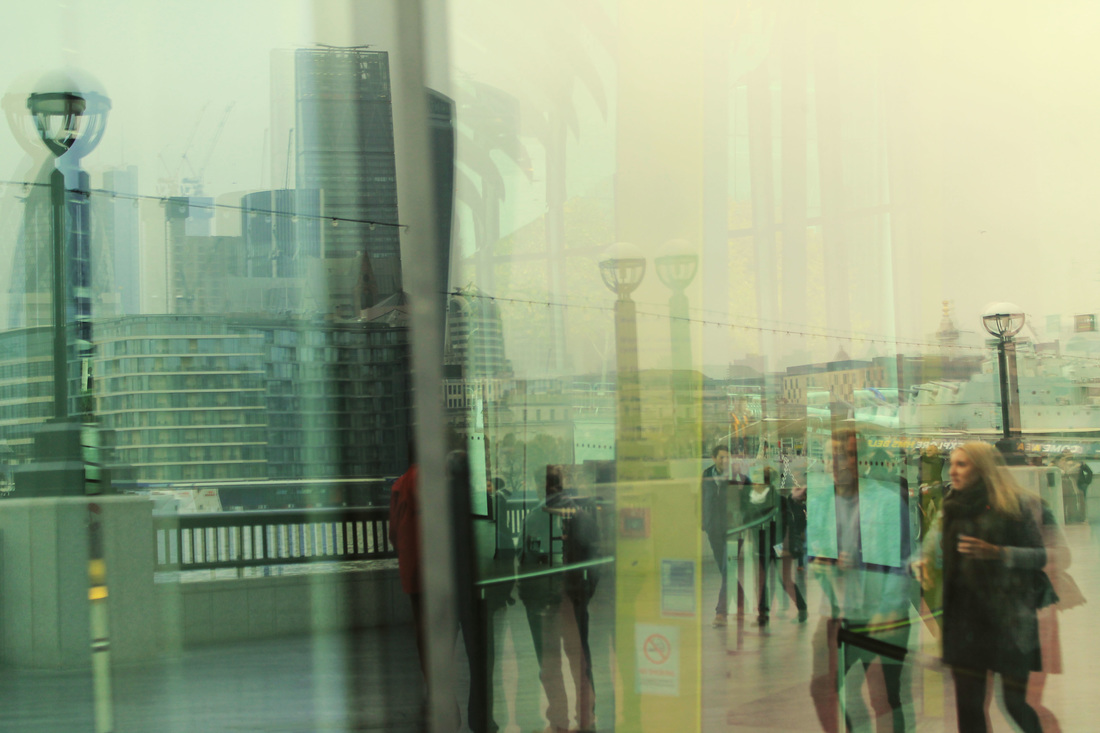
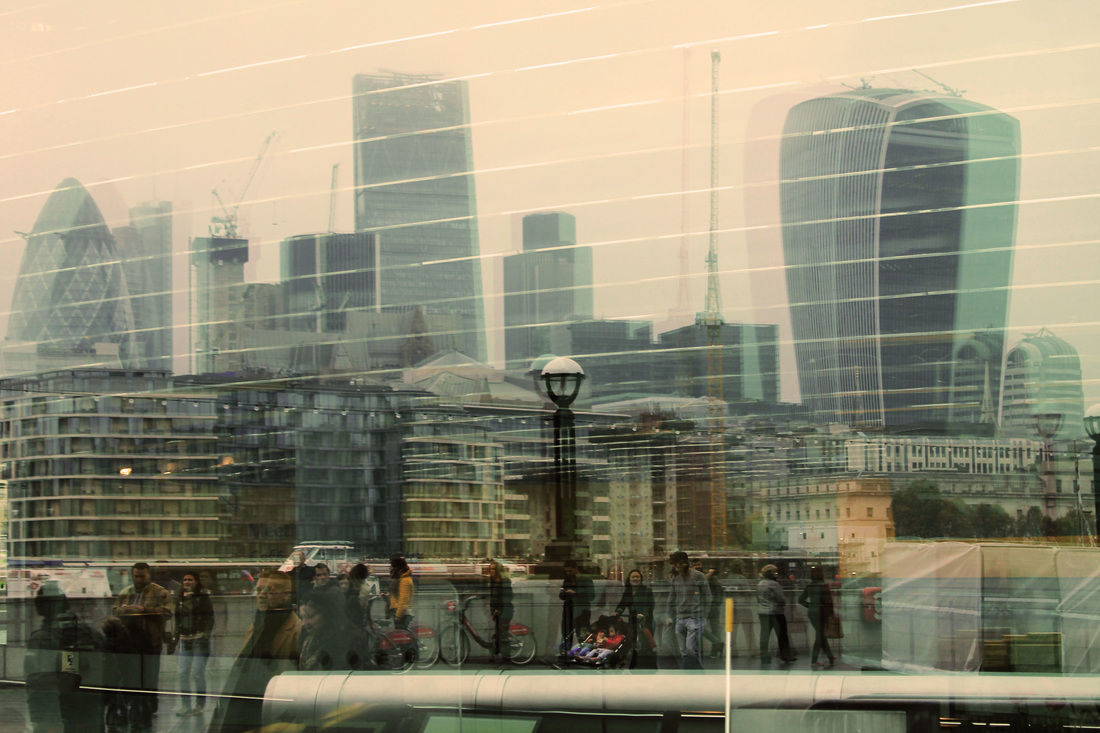
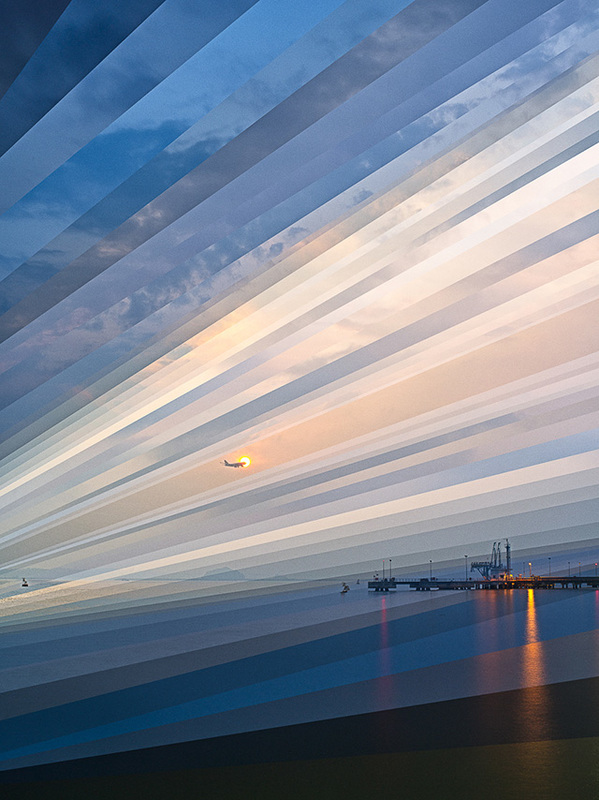
Fong Qi Wei is a conceptual fine art photographer based in Singapore, whose artistic philosophy is that an artist is a communicator, and that their message should be an authentic and original one. His most famous project, titled 'Time Is A Dimension', involved him capturing multiple pictures of the same sites over the course of a day, before splicing them together into a single image taken over several hours. The artist was inspired by the way that photographs can summon up a three-dimensional scene even though they only have two dimensions themselves. He began to think about how it would be possible to display time - sometimes called 'the fourth dimension' - using only a static 2D picture. 'Most paintings and photographs are an instance of time,' he said. 'That's not the way the world works. We experience a sequence of time, and that's why a video is somehow more compelling than a freeze frame'.
'I work in the confines of a photographic print, because I like to do so. But in a way, I wanted to break out of this restriction of a single slice of time in photography.'
He mostly photographs landscapes and cityscapes. Each slice of the photograph represents a different period of time. The transition from daytime to night is gradual yet noticeable in every piece.

Strand Response
I am happy with this initial strand response, however there are definitely aspects of the work that I can improve on. For example, not all the layers line up with each other exactly and they aren't all the same size as one another. I feel there are also too many things in the image to focus on, so next time I could shorten down the number of objects in the image to make the photo more clear.
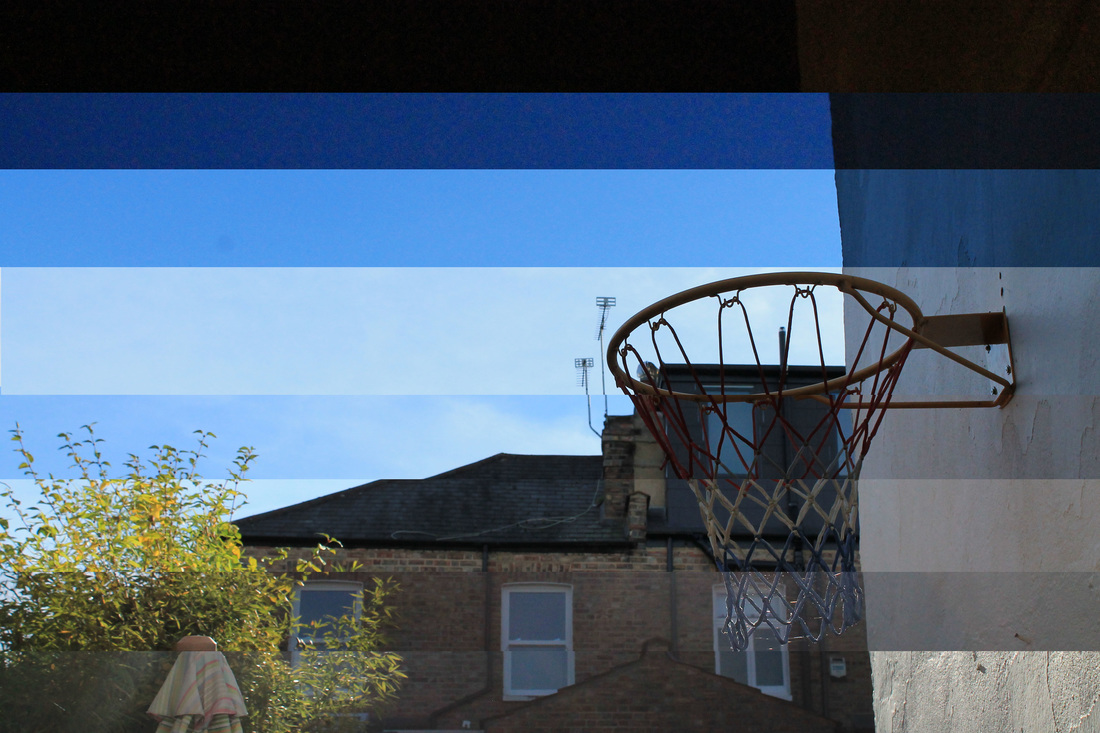
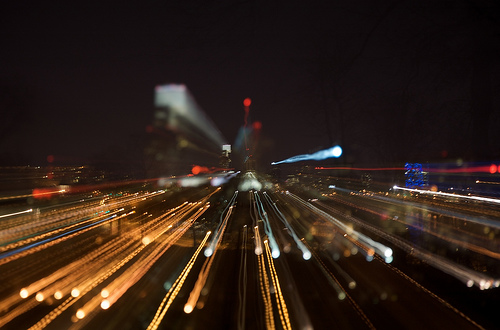
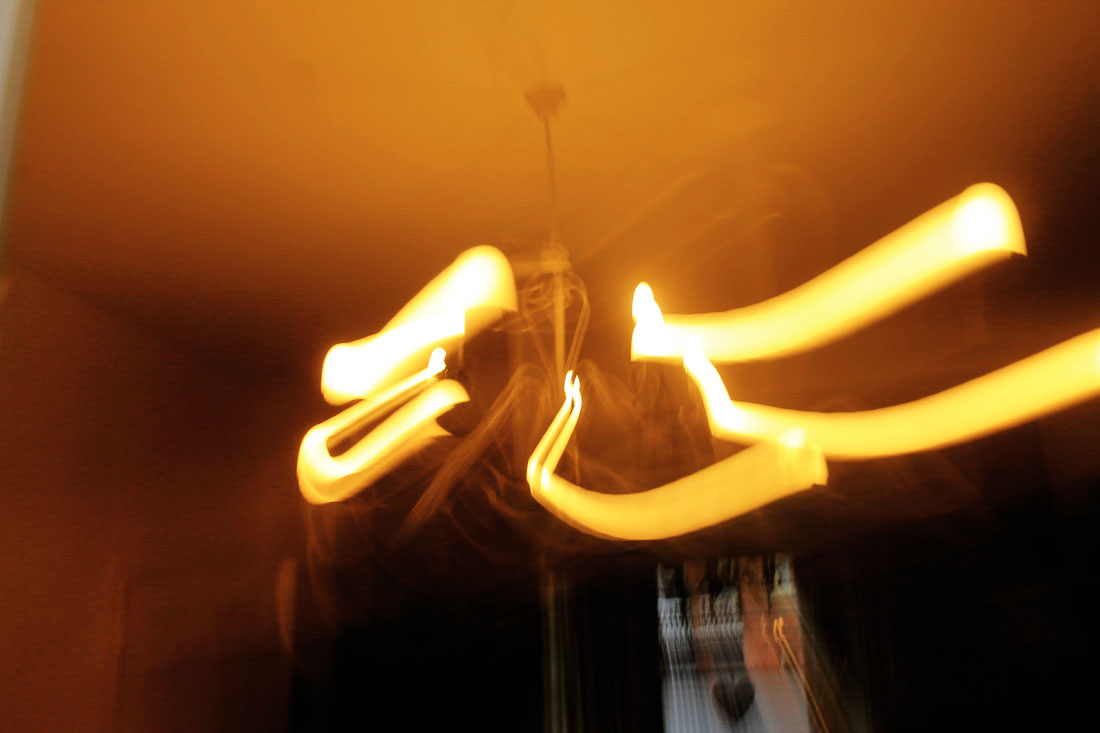
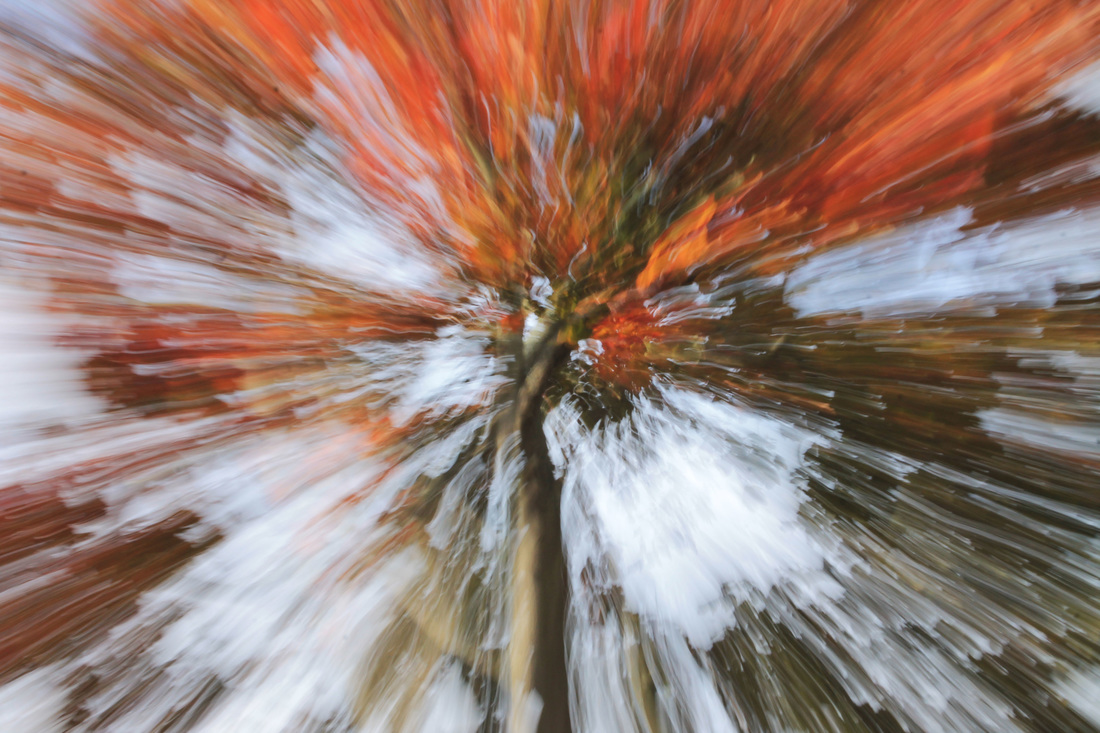
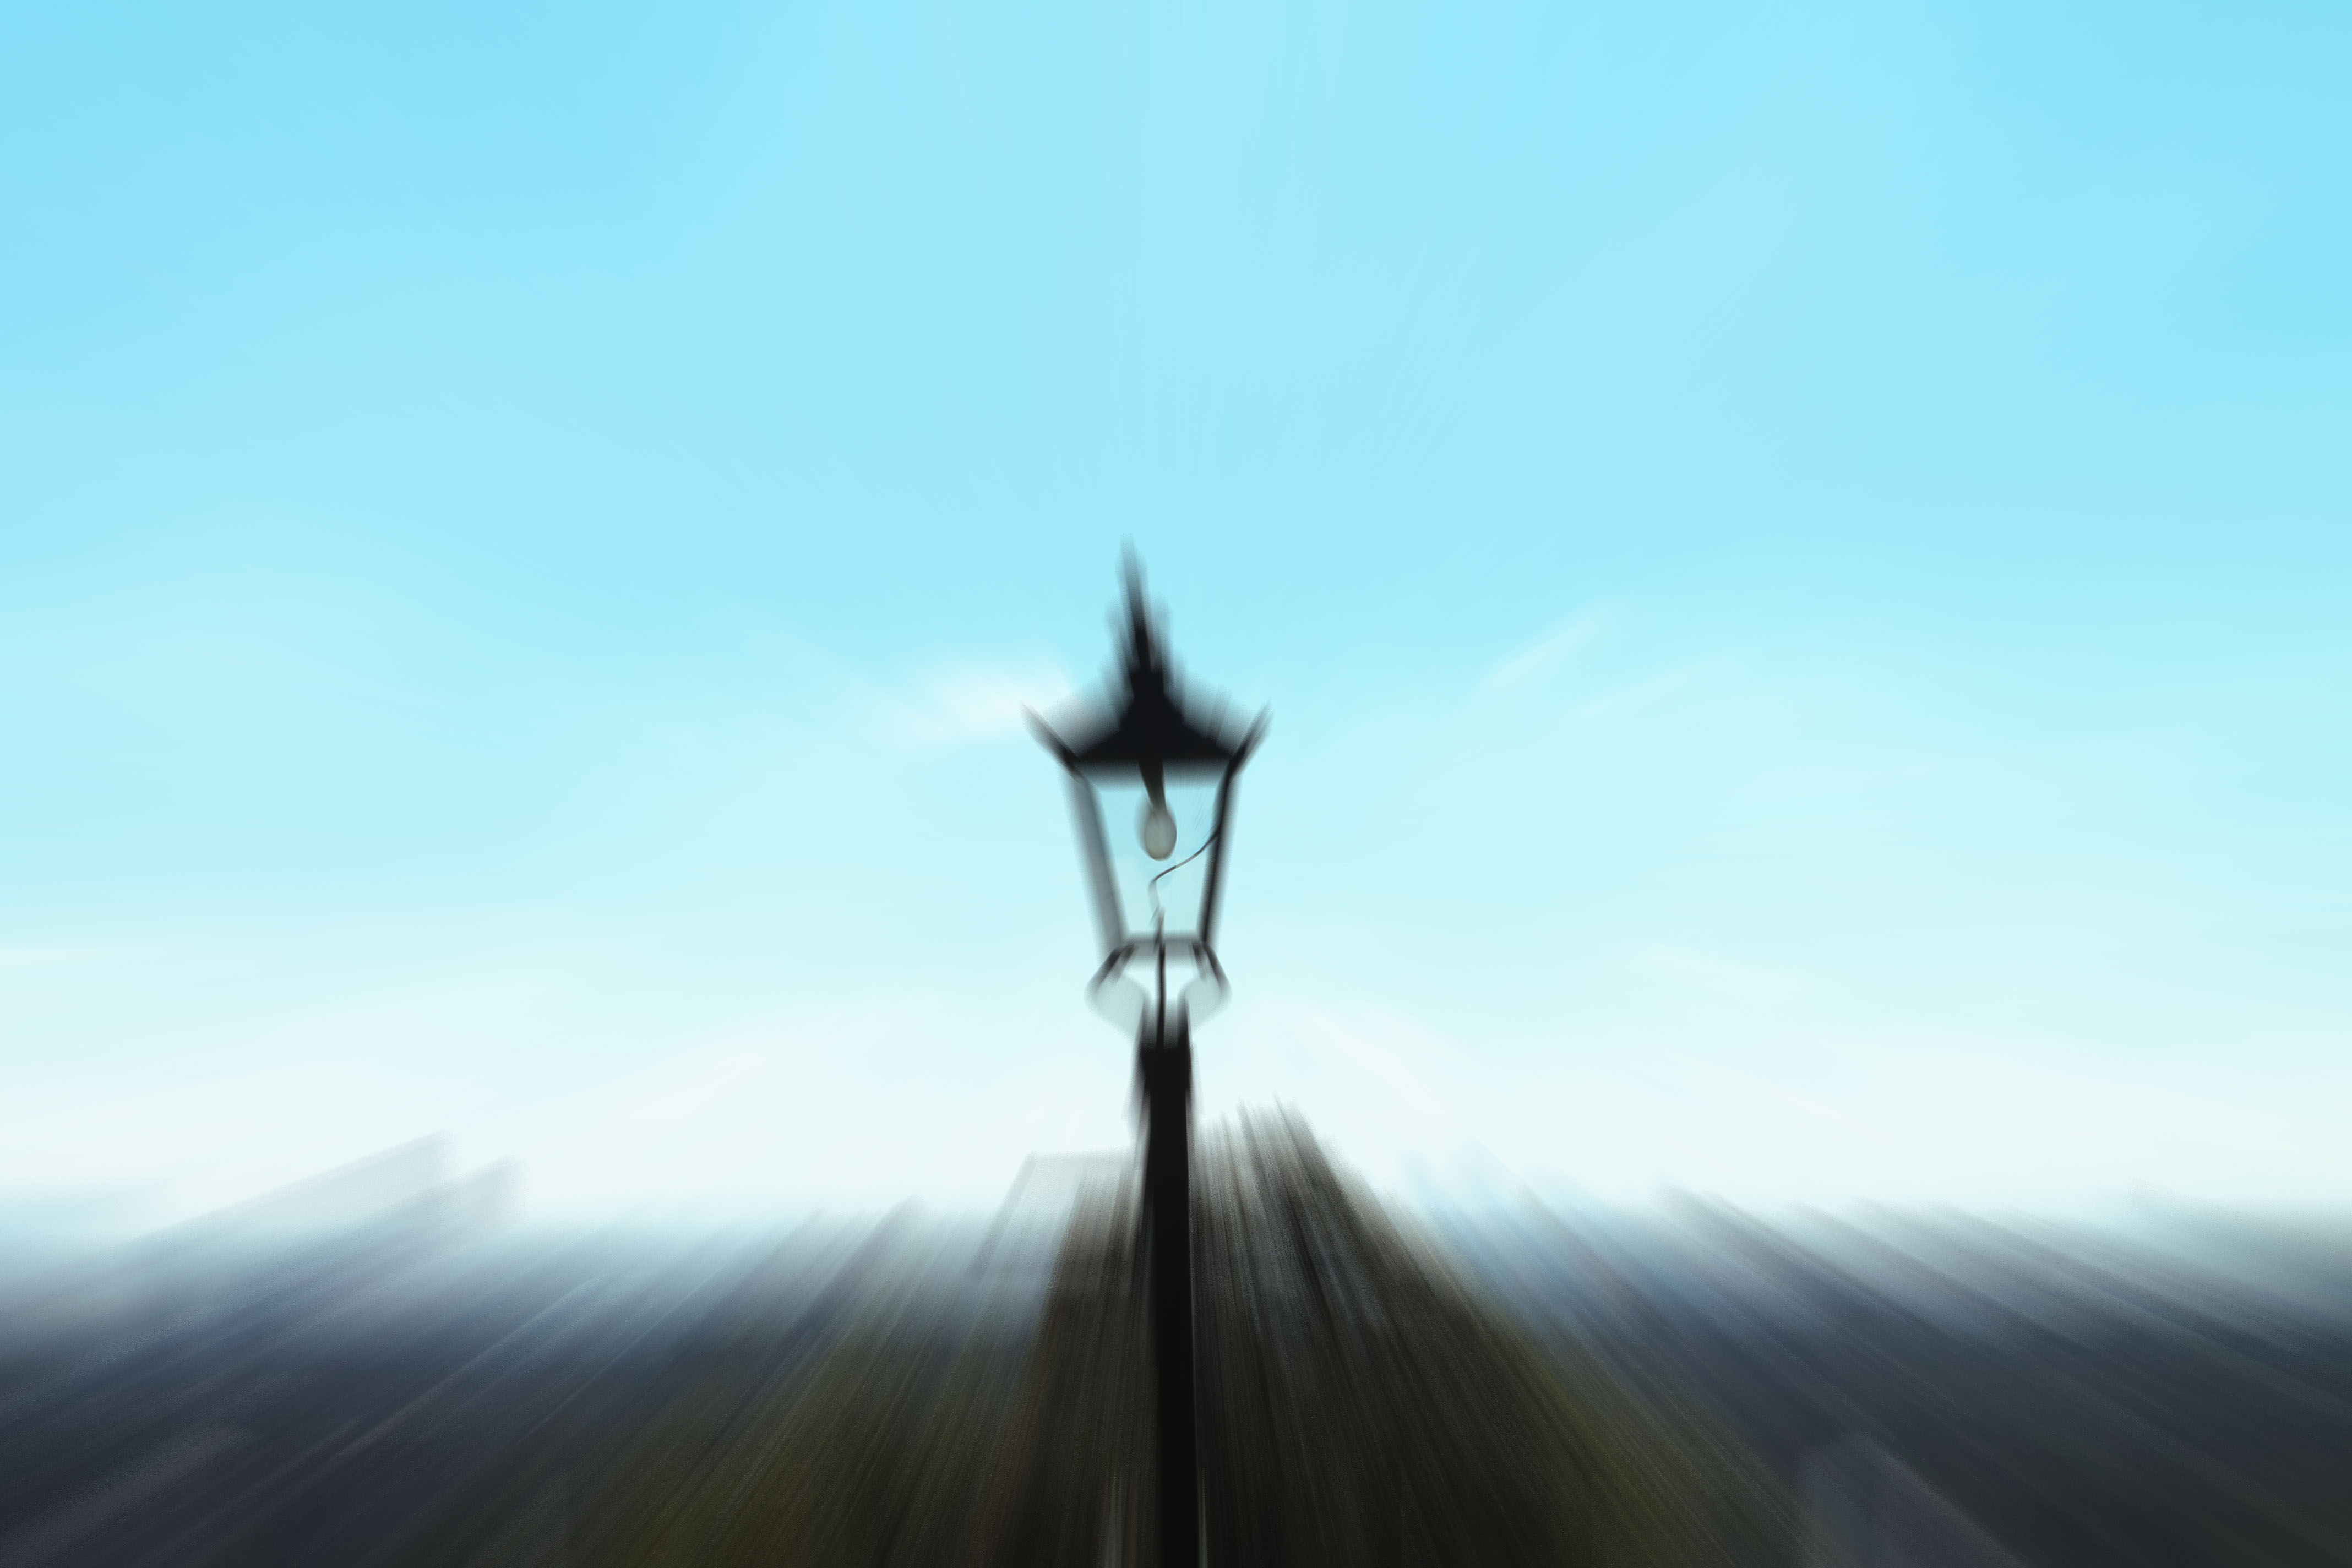
Preffered Strand - Dominic Harris/Zoom Blur
Dominic Harris is a photographer who uses the technique of Zoom Blur in his work. This effect adds the appearance of motion to a photo, and the result is an object of focus with motion lines radiating from it. You do this by zooming either in or out while your shutter is open. The key to this effect is to use a relatively slow shutter speed. You will need to experiment and could start out around 1/30, but you will likely need to go quite a bit slower such as at 1/8 or even a full second. A tripod is often helpful when shooting with the zoom blur effect as the technique itself requires a long exposure in order to work to its full potential. This type of photo is somewhat blurry by nature, but to avoid complete blur, the camera has to be kept as still as possible.


Response
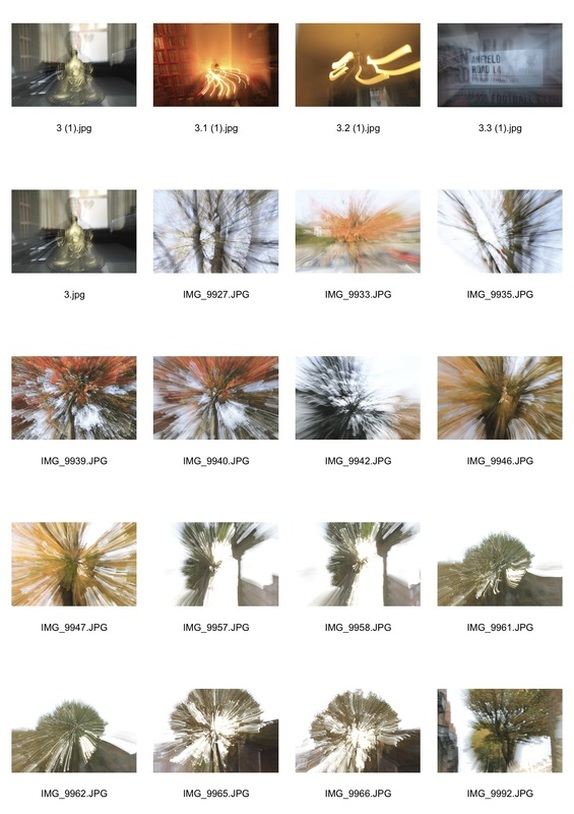

Zoom Blur - 2nd Response - Photosho[p
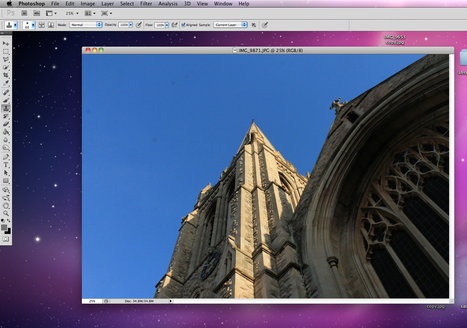
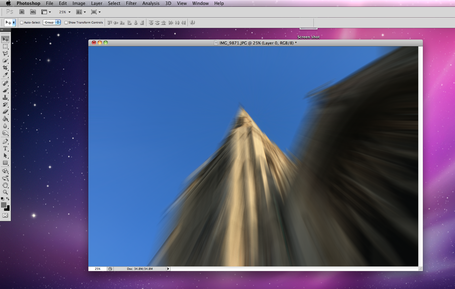
For my second response to zoom blur, I worked on making an artificial zoom blur on photoshop as opposed to my manual zoom blurs in my first strand response. This technique will make my images more streamlined, making all of my images have a focal point where the zoom stems from. In order to do this, you must first open a photo in photoshop.
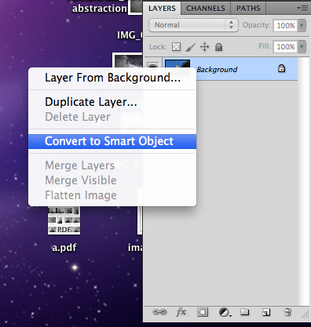
You must then right click on the layers section in photoshop and select 'Convert to Smart Object'.
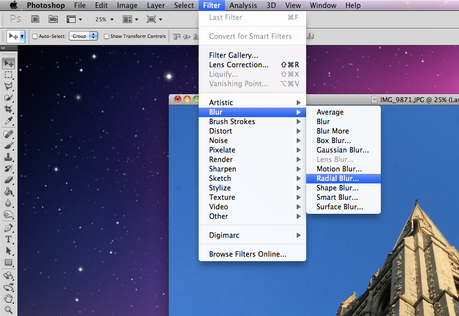
Next, select 'Filters' from the menu, and select 'Blur', before pressing 'Radial Blur'.
Select 'Zoom' and change the amount to around 80 - 100%. Drag the blur center to wherever you want it on the photo. Click OK.
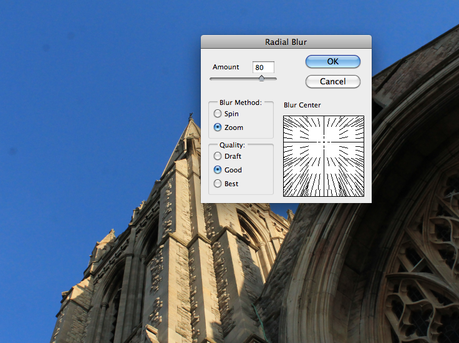
The result should be as the photo is below:
|
|
Artist & Me
|

|
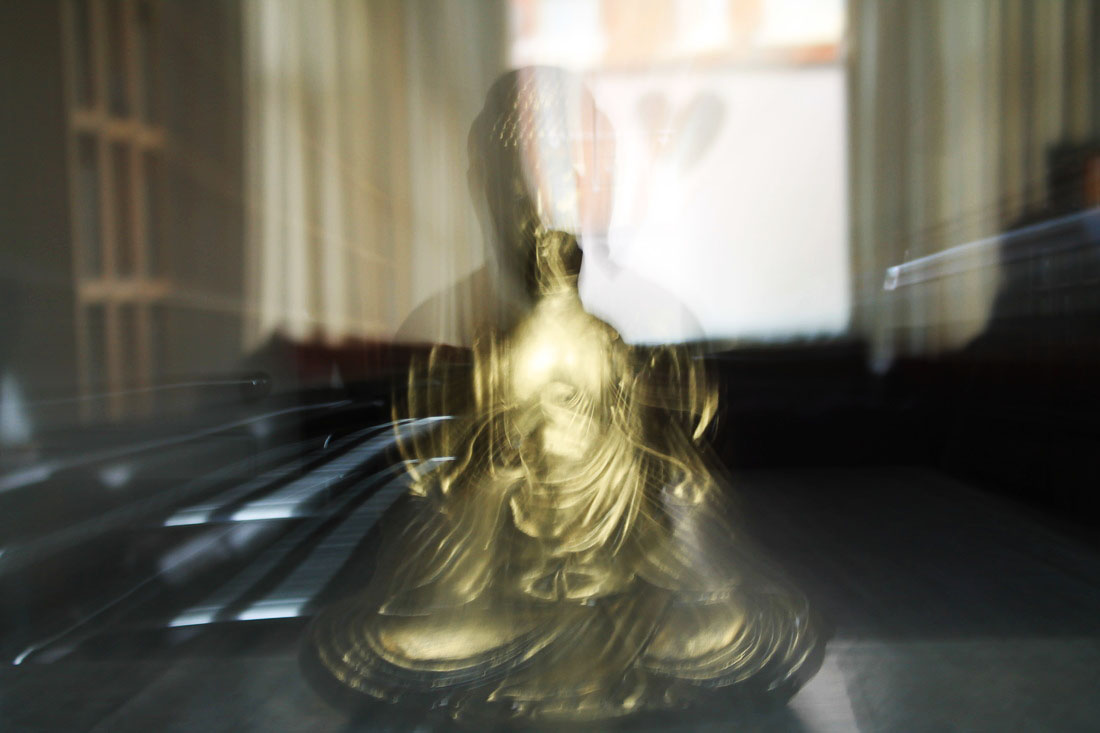
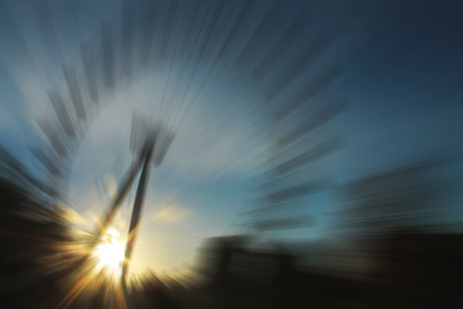
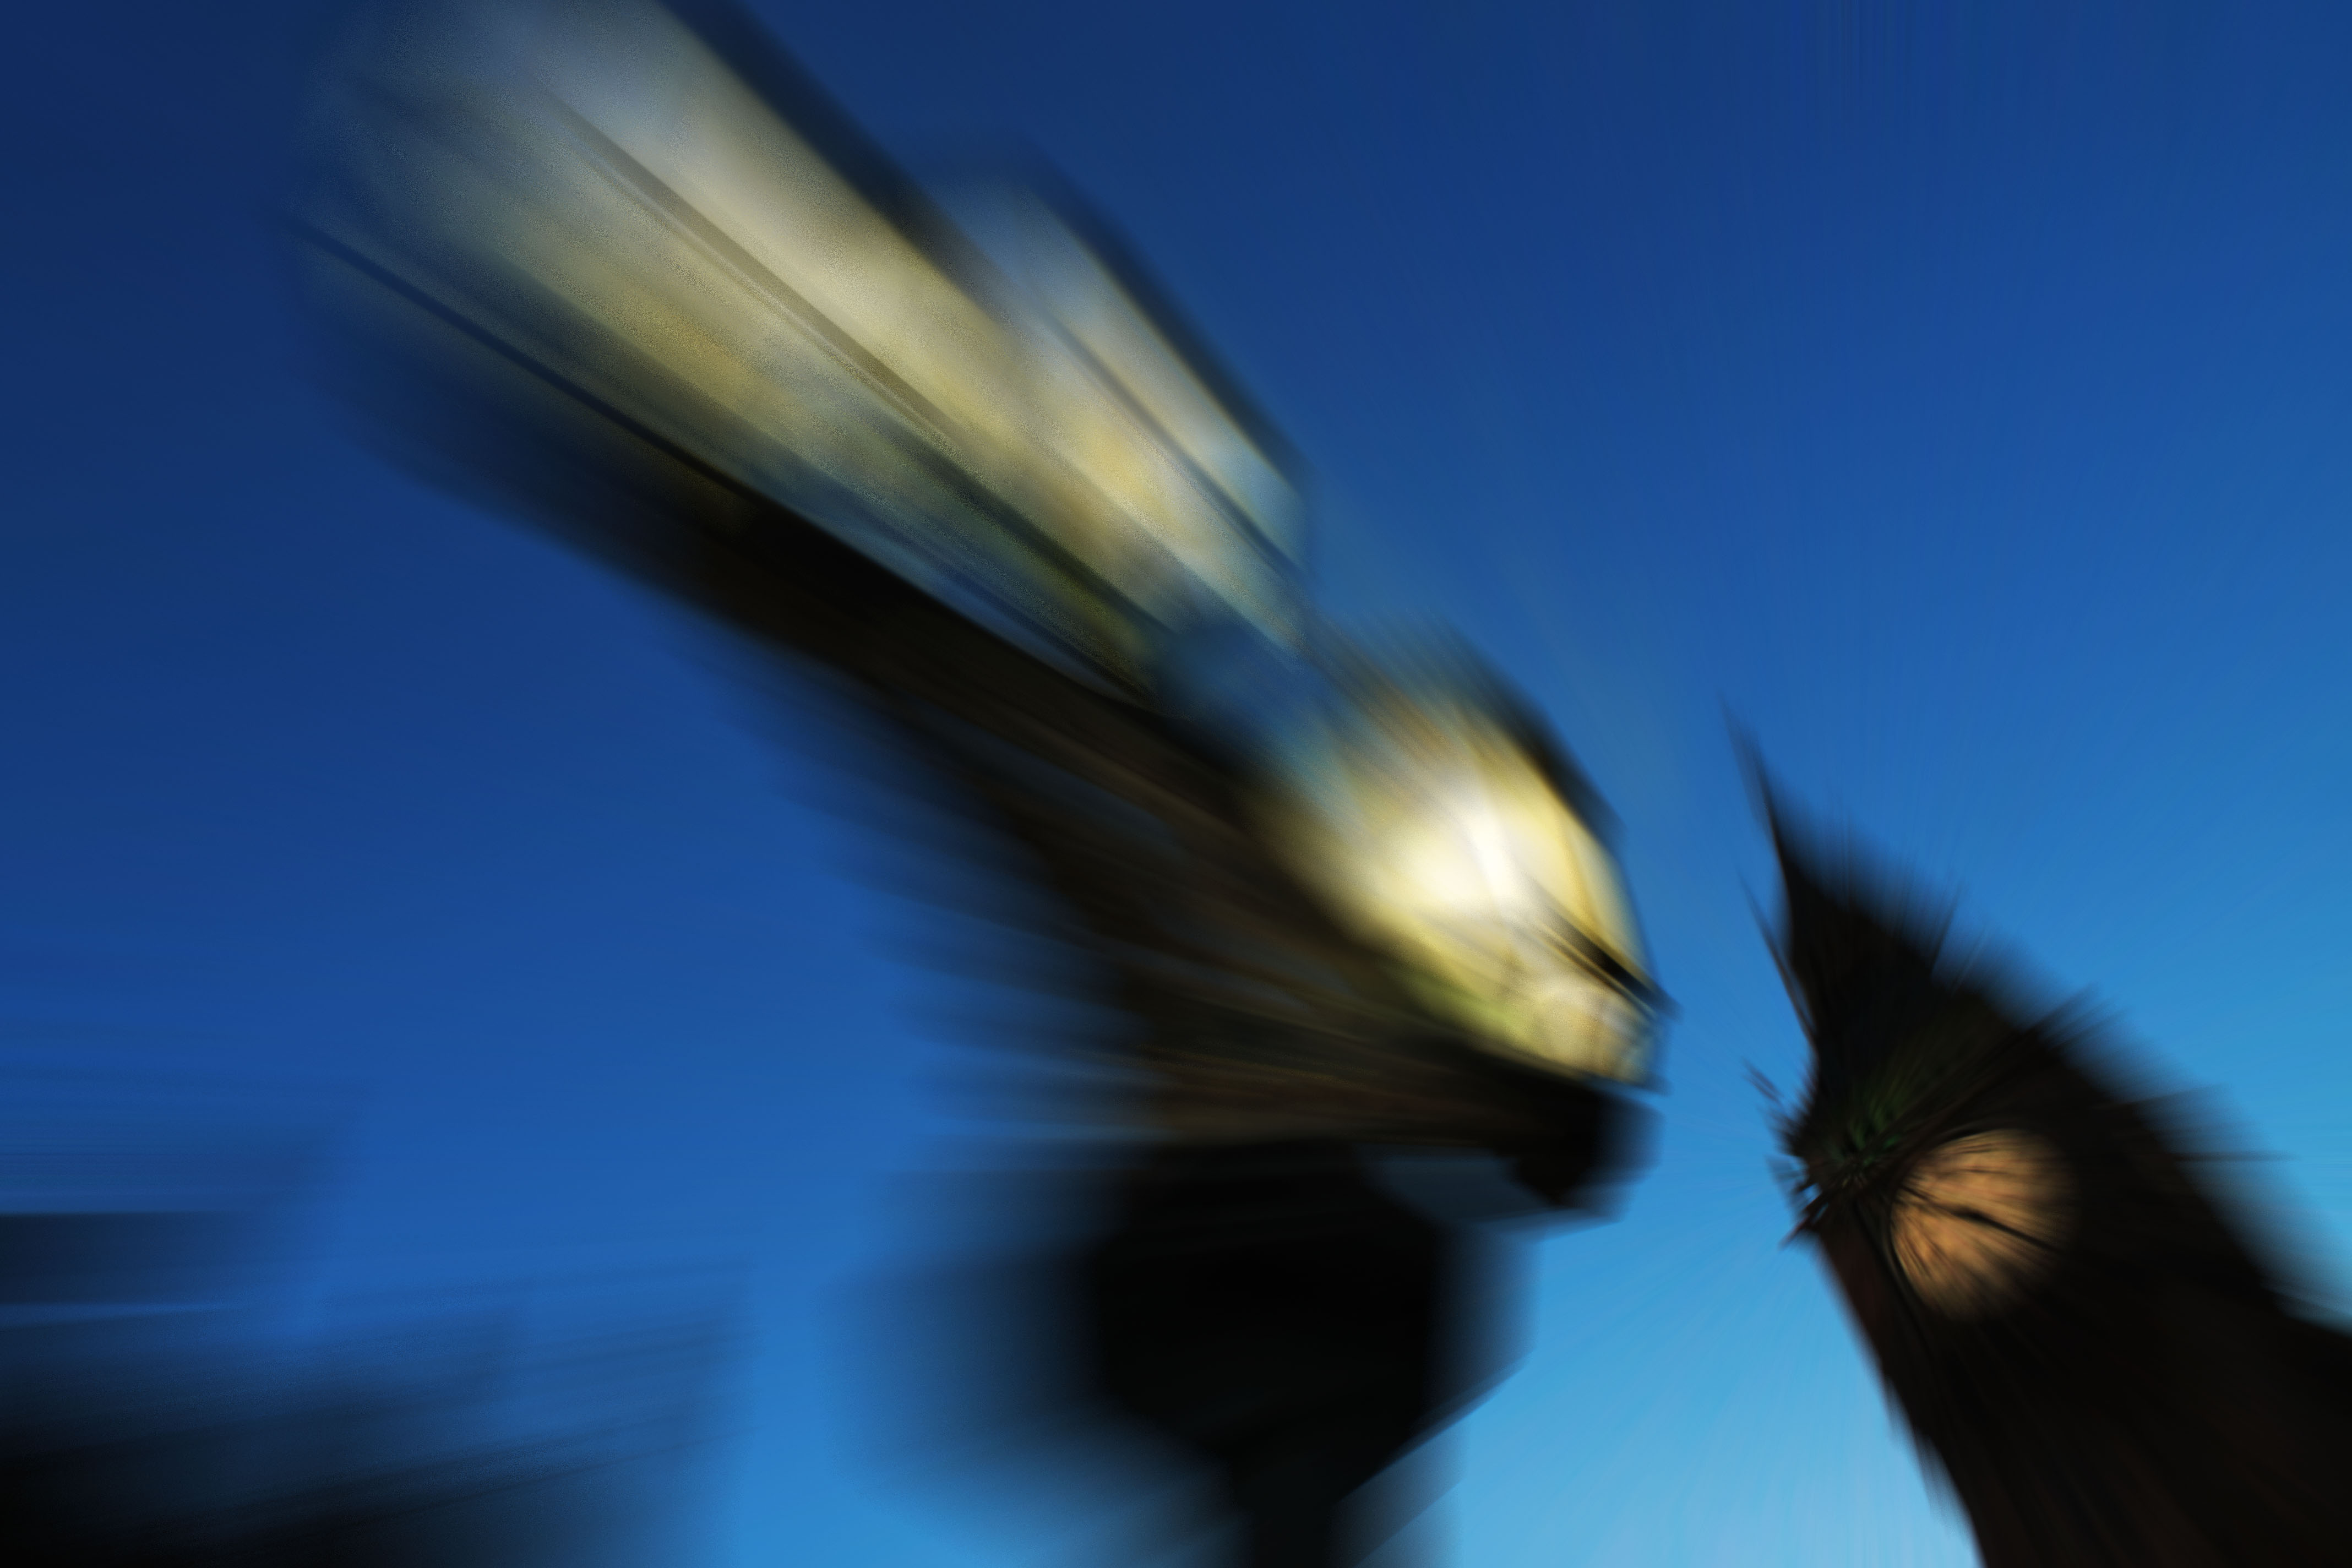
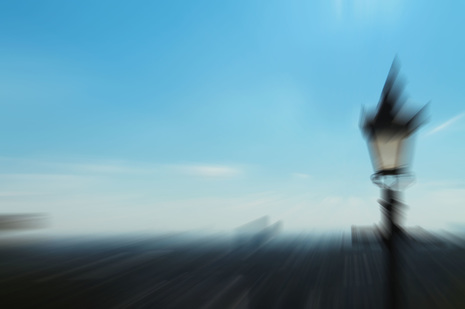
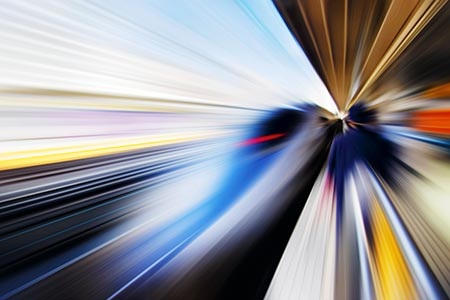
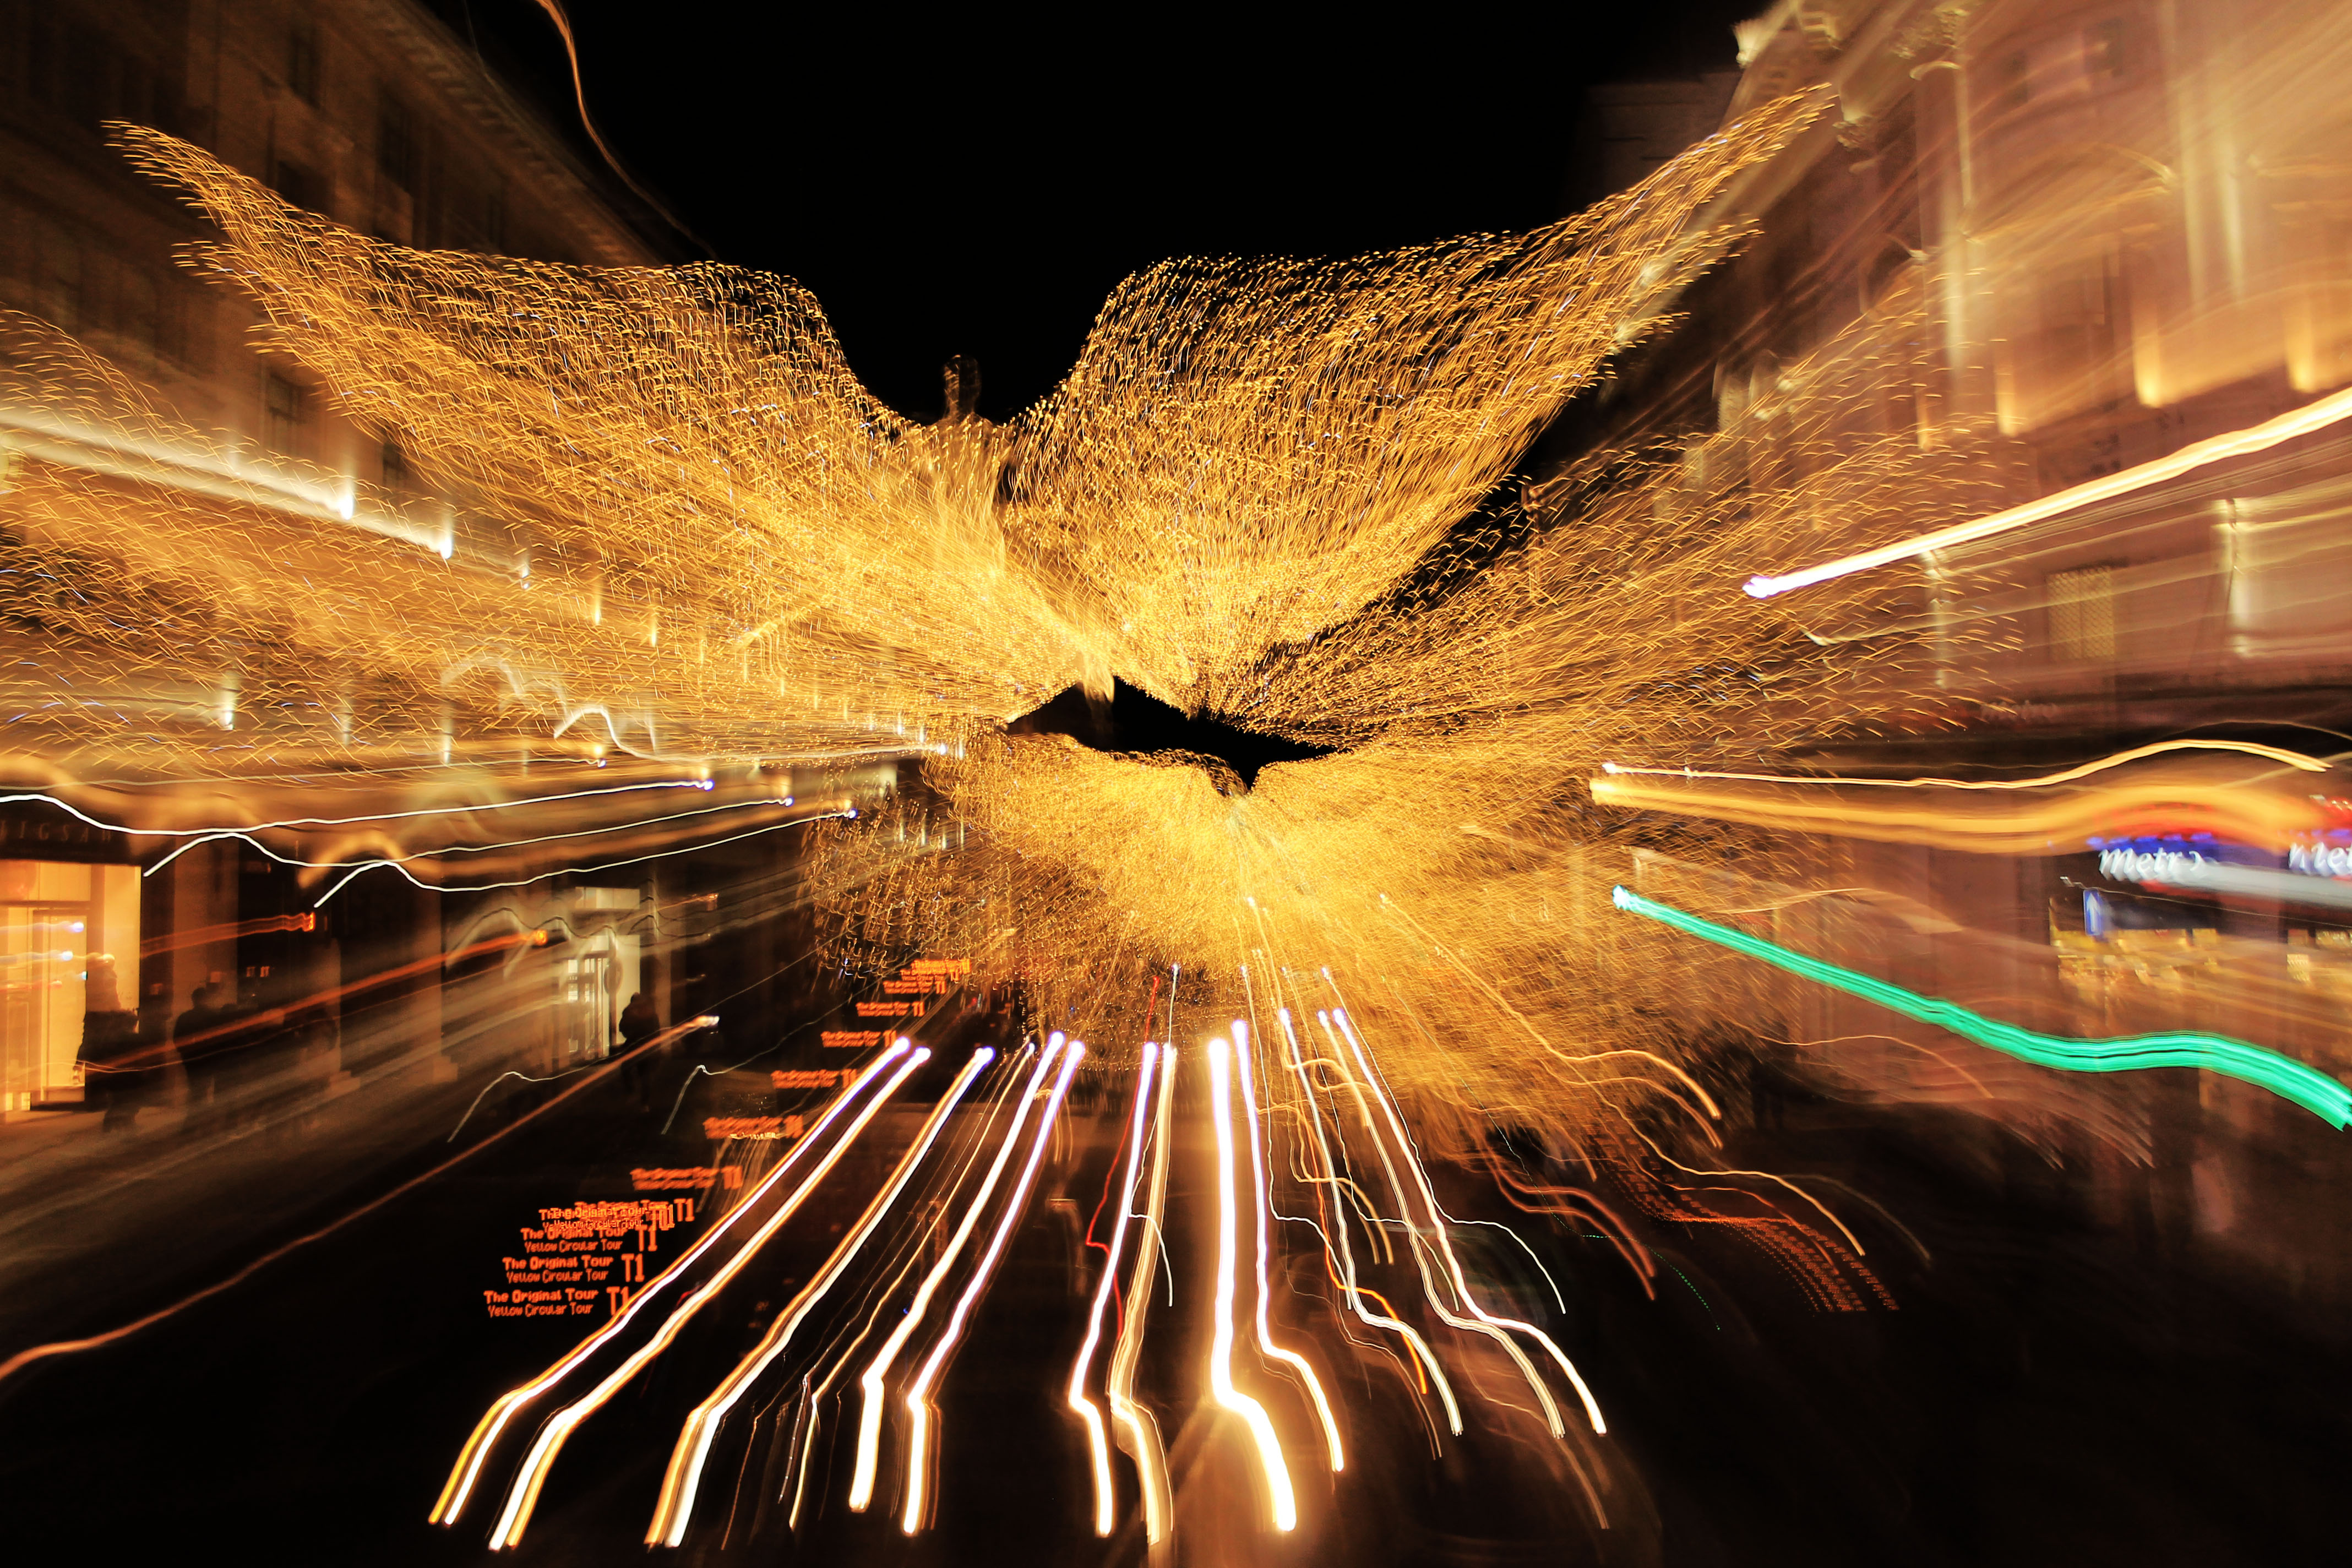
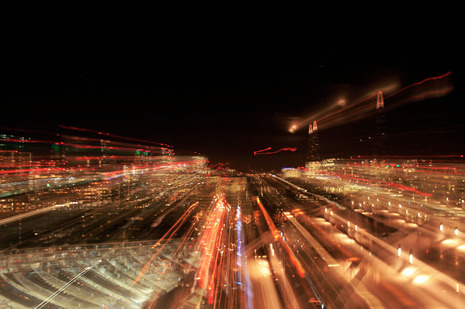
The image on the left is the work of Dominic Harris, and my own work is next to it. I really like both images as they both have a clear focal point where the zoom stems from, and each image has distinct zoom lines, however the artists zoom lines are slightly clearer due to the stronger colour palette used. The zoom effect in both images are used really well, as the subject is still clear in both images despite the blur effect. Both images also have a strong atmosphere, as the focal point in the artists work is from behind the train in the far distance, creating the effect of movement in the image. The focal point in my work is the sun in the lower left hand side of the image, and this creates the illusion of a sucking effect, as if the world is being sucked into the sun. To improve, I could use a stronger colour palette as it gives the zoom lines more distinction whilst also giving the photo a stronger, brighter atmosphere.
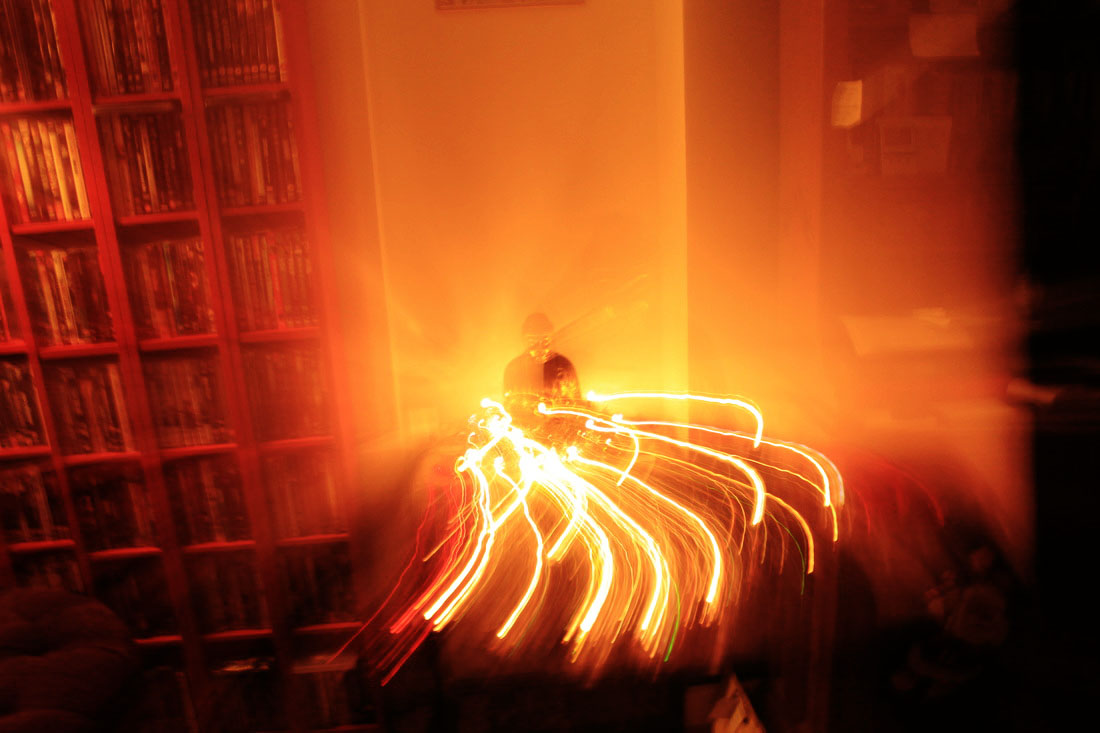
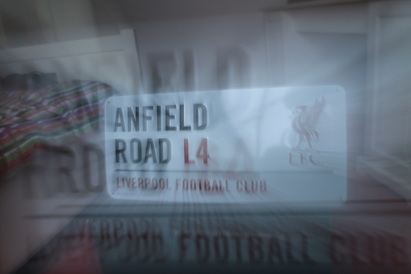
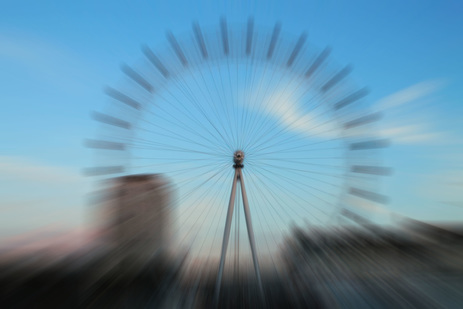
Zoom Blur - Response 3 - Flash
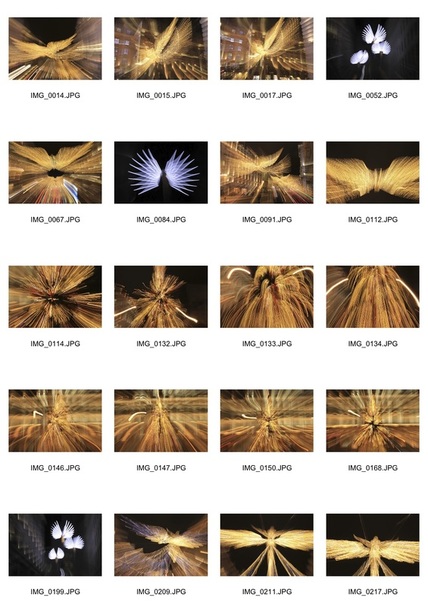
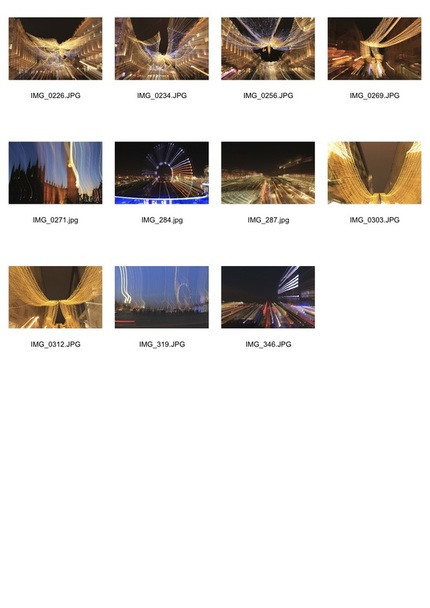
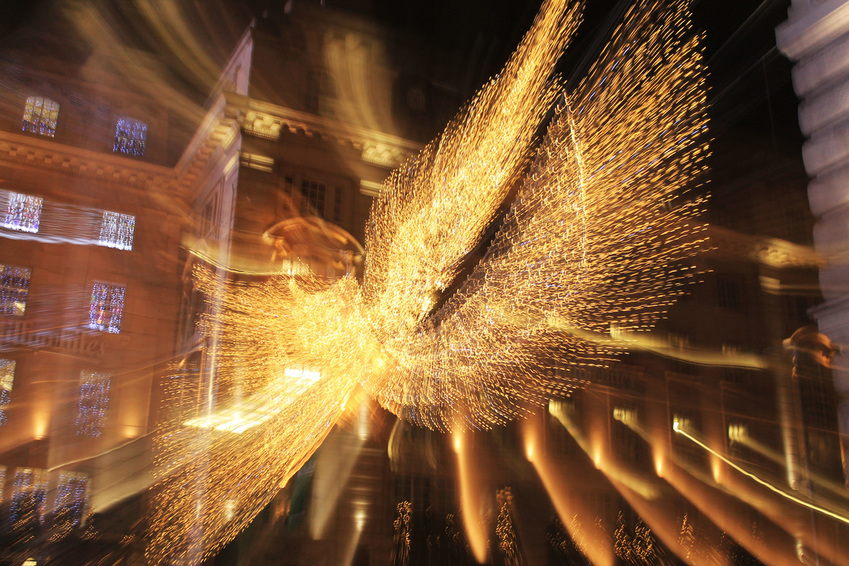
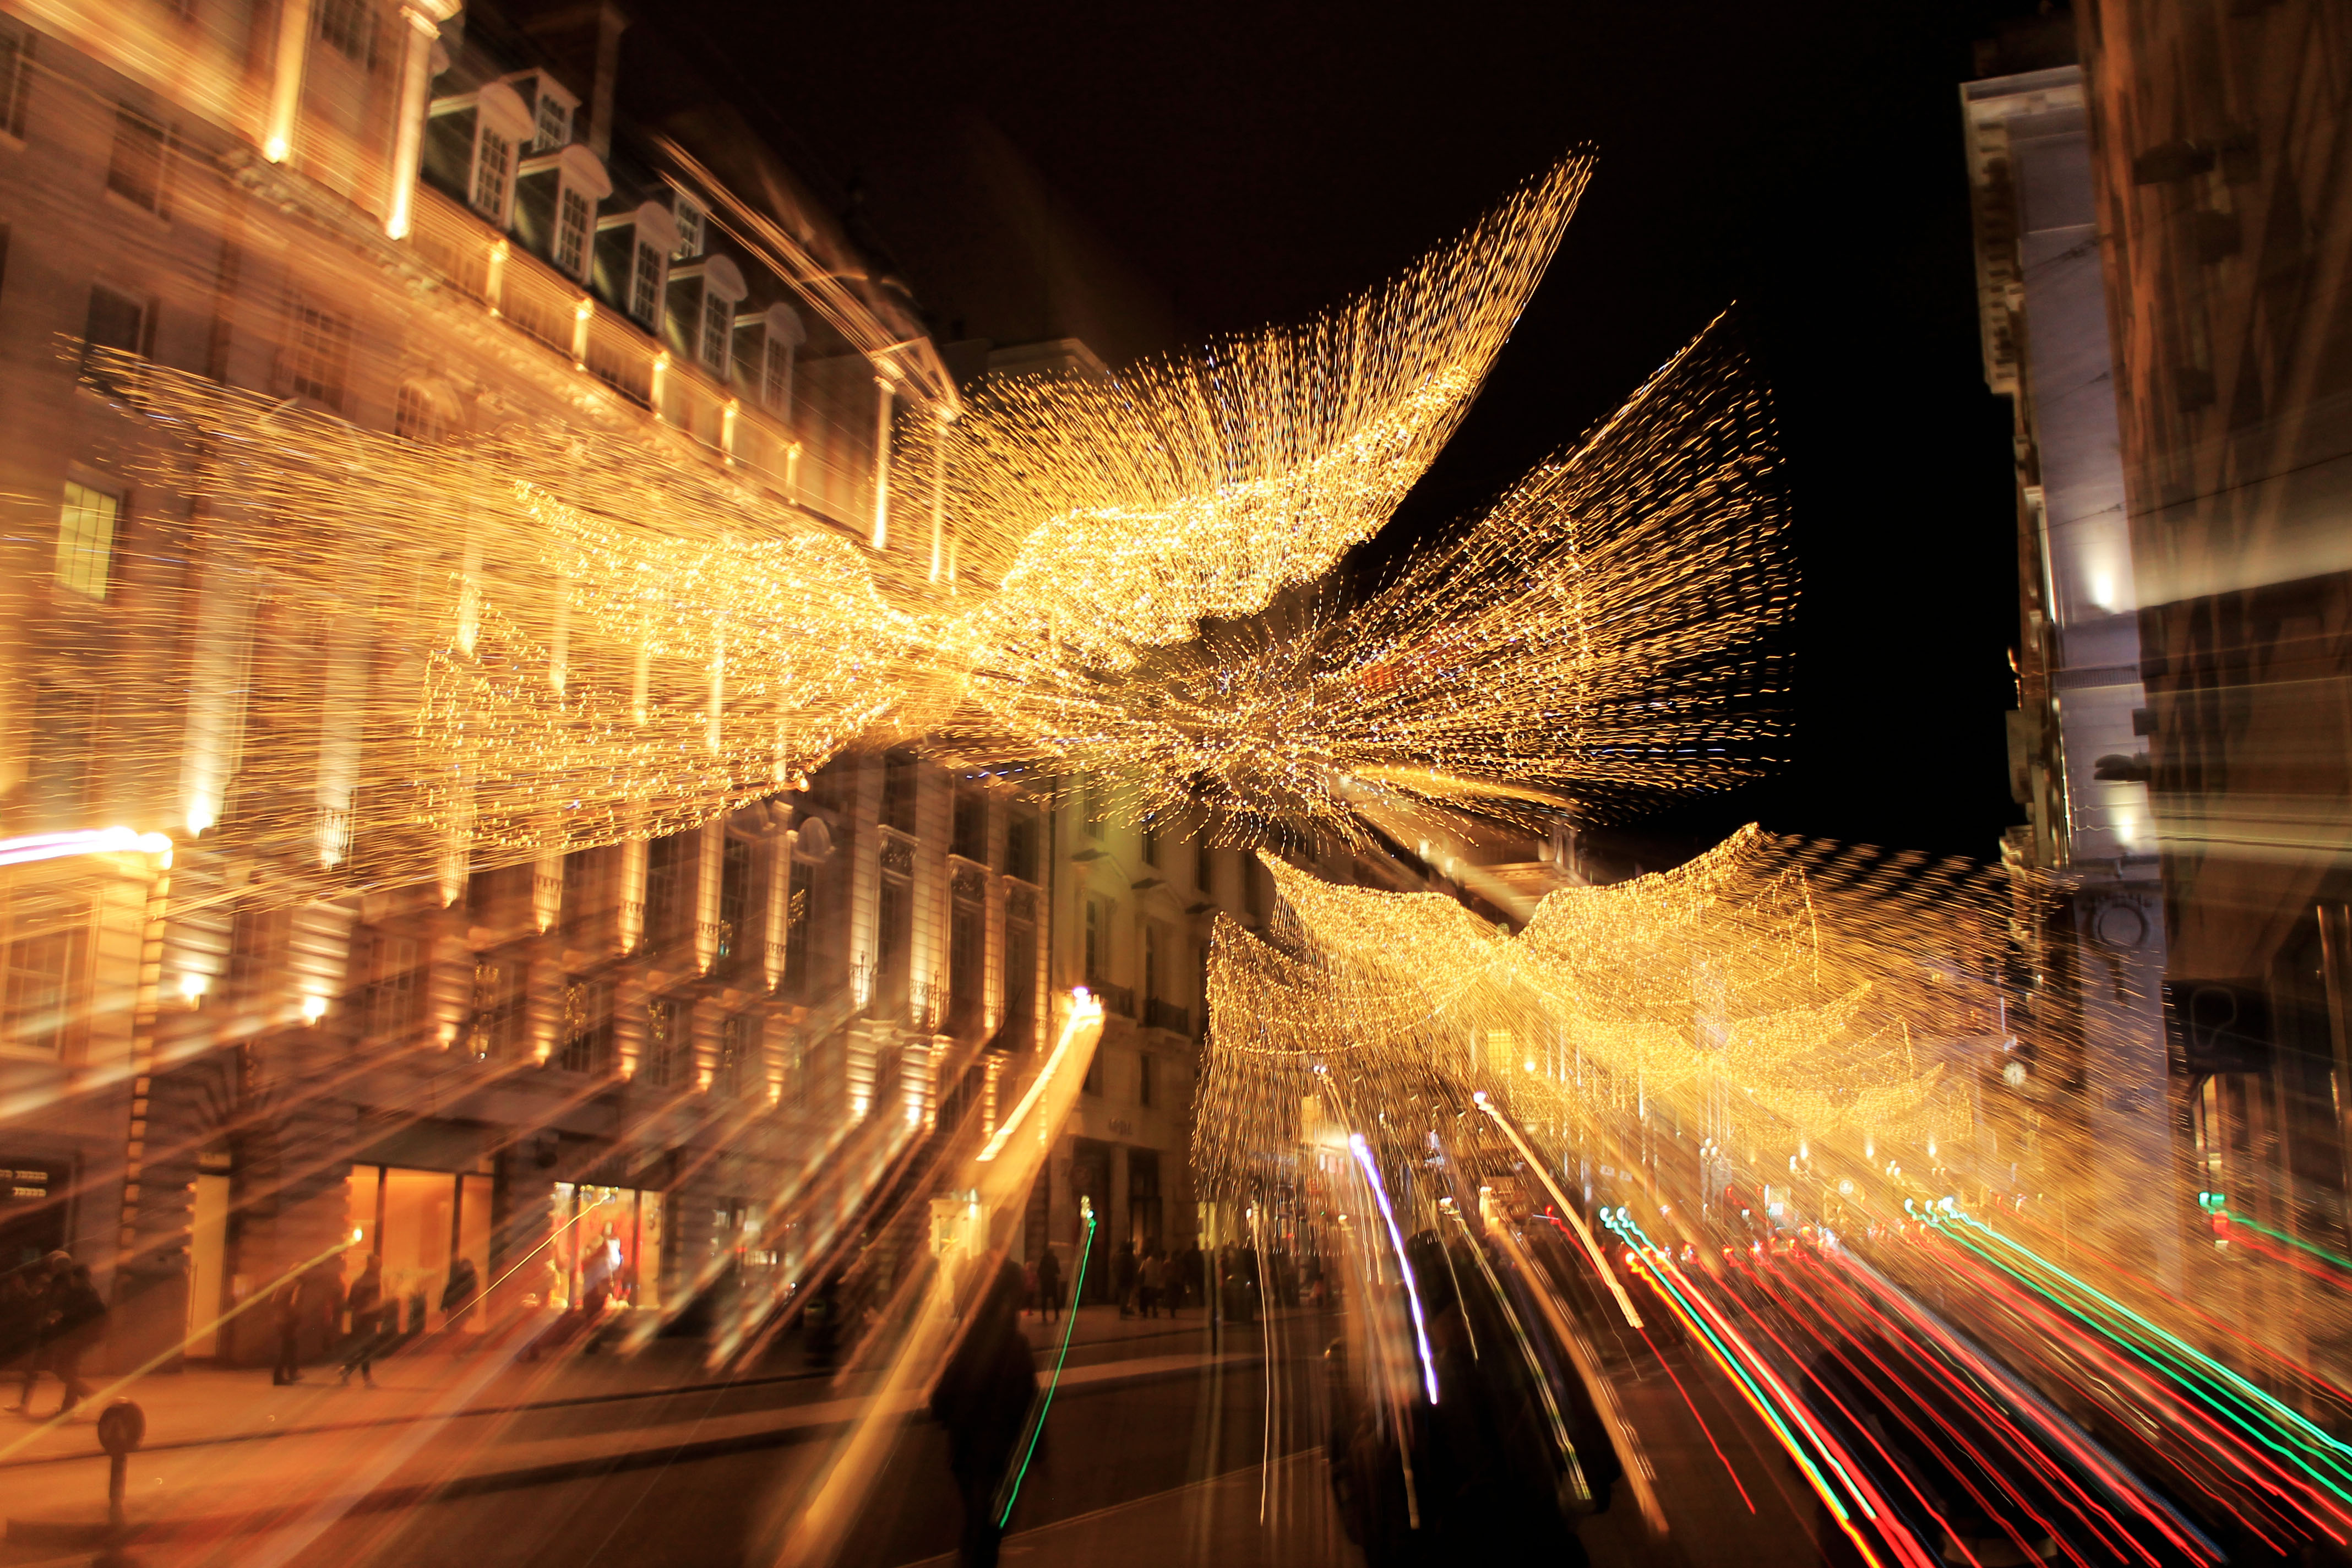
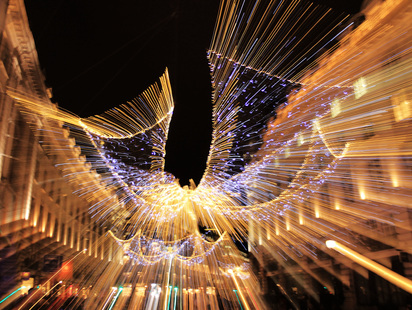
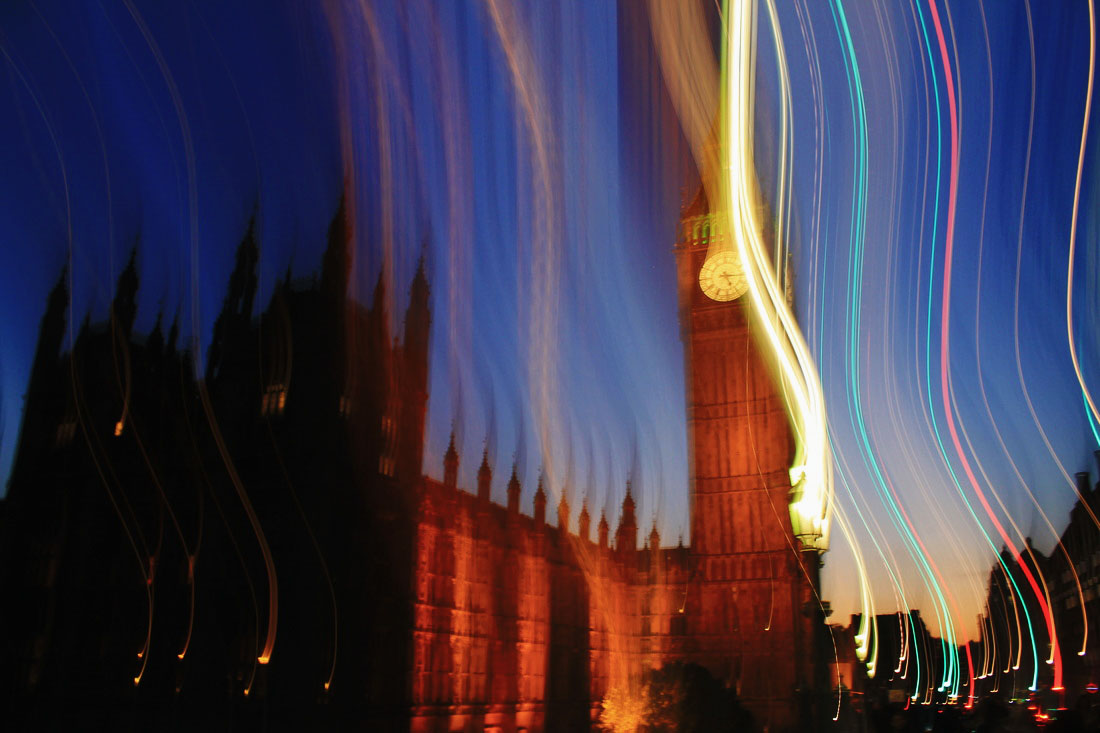
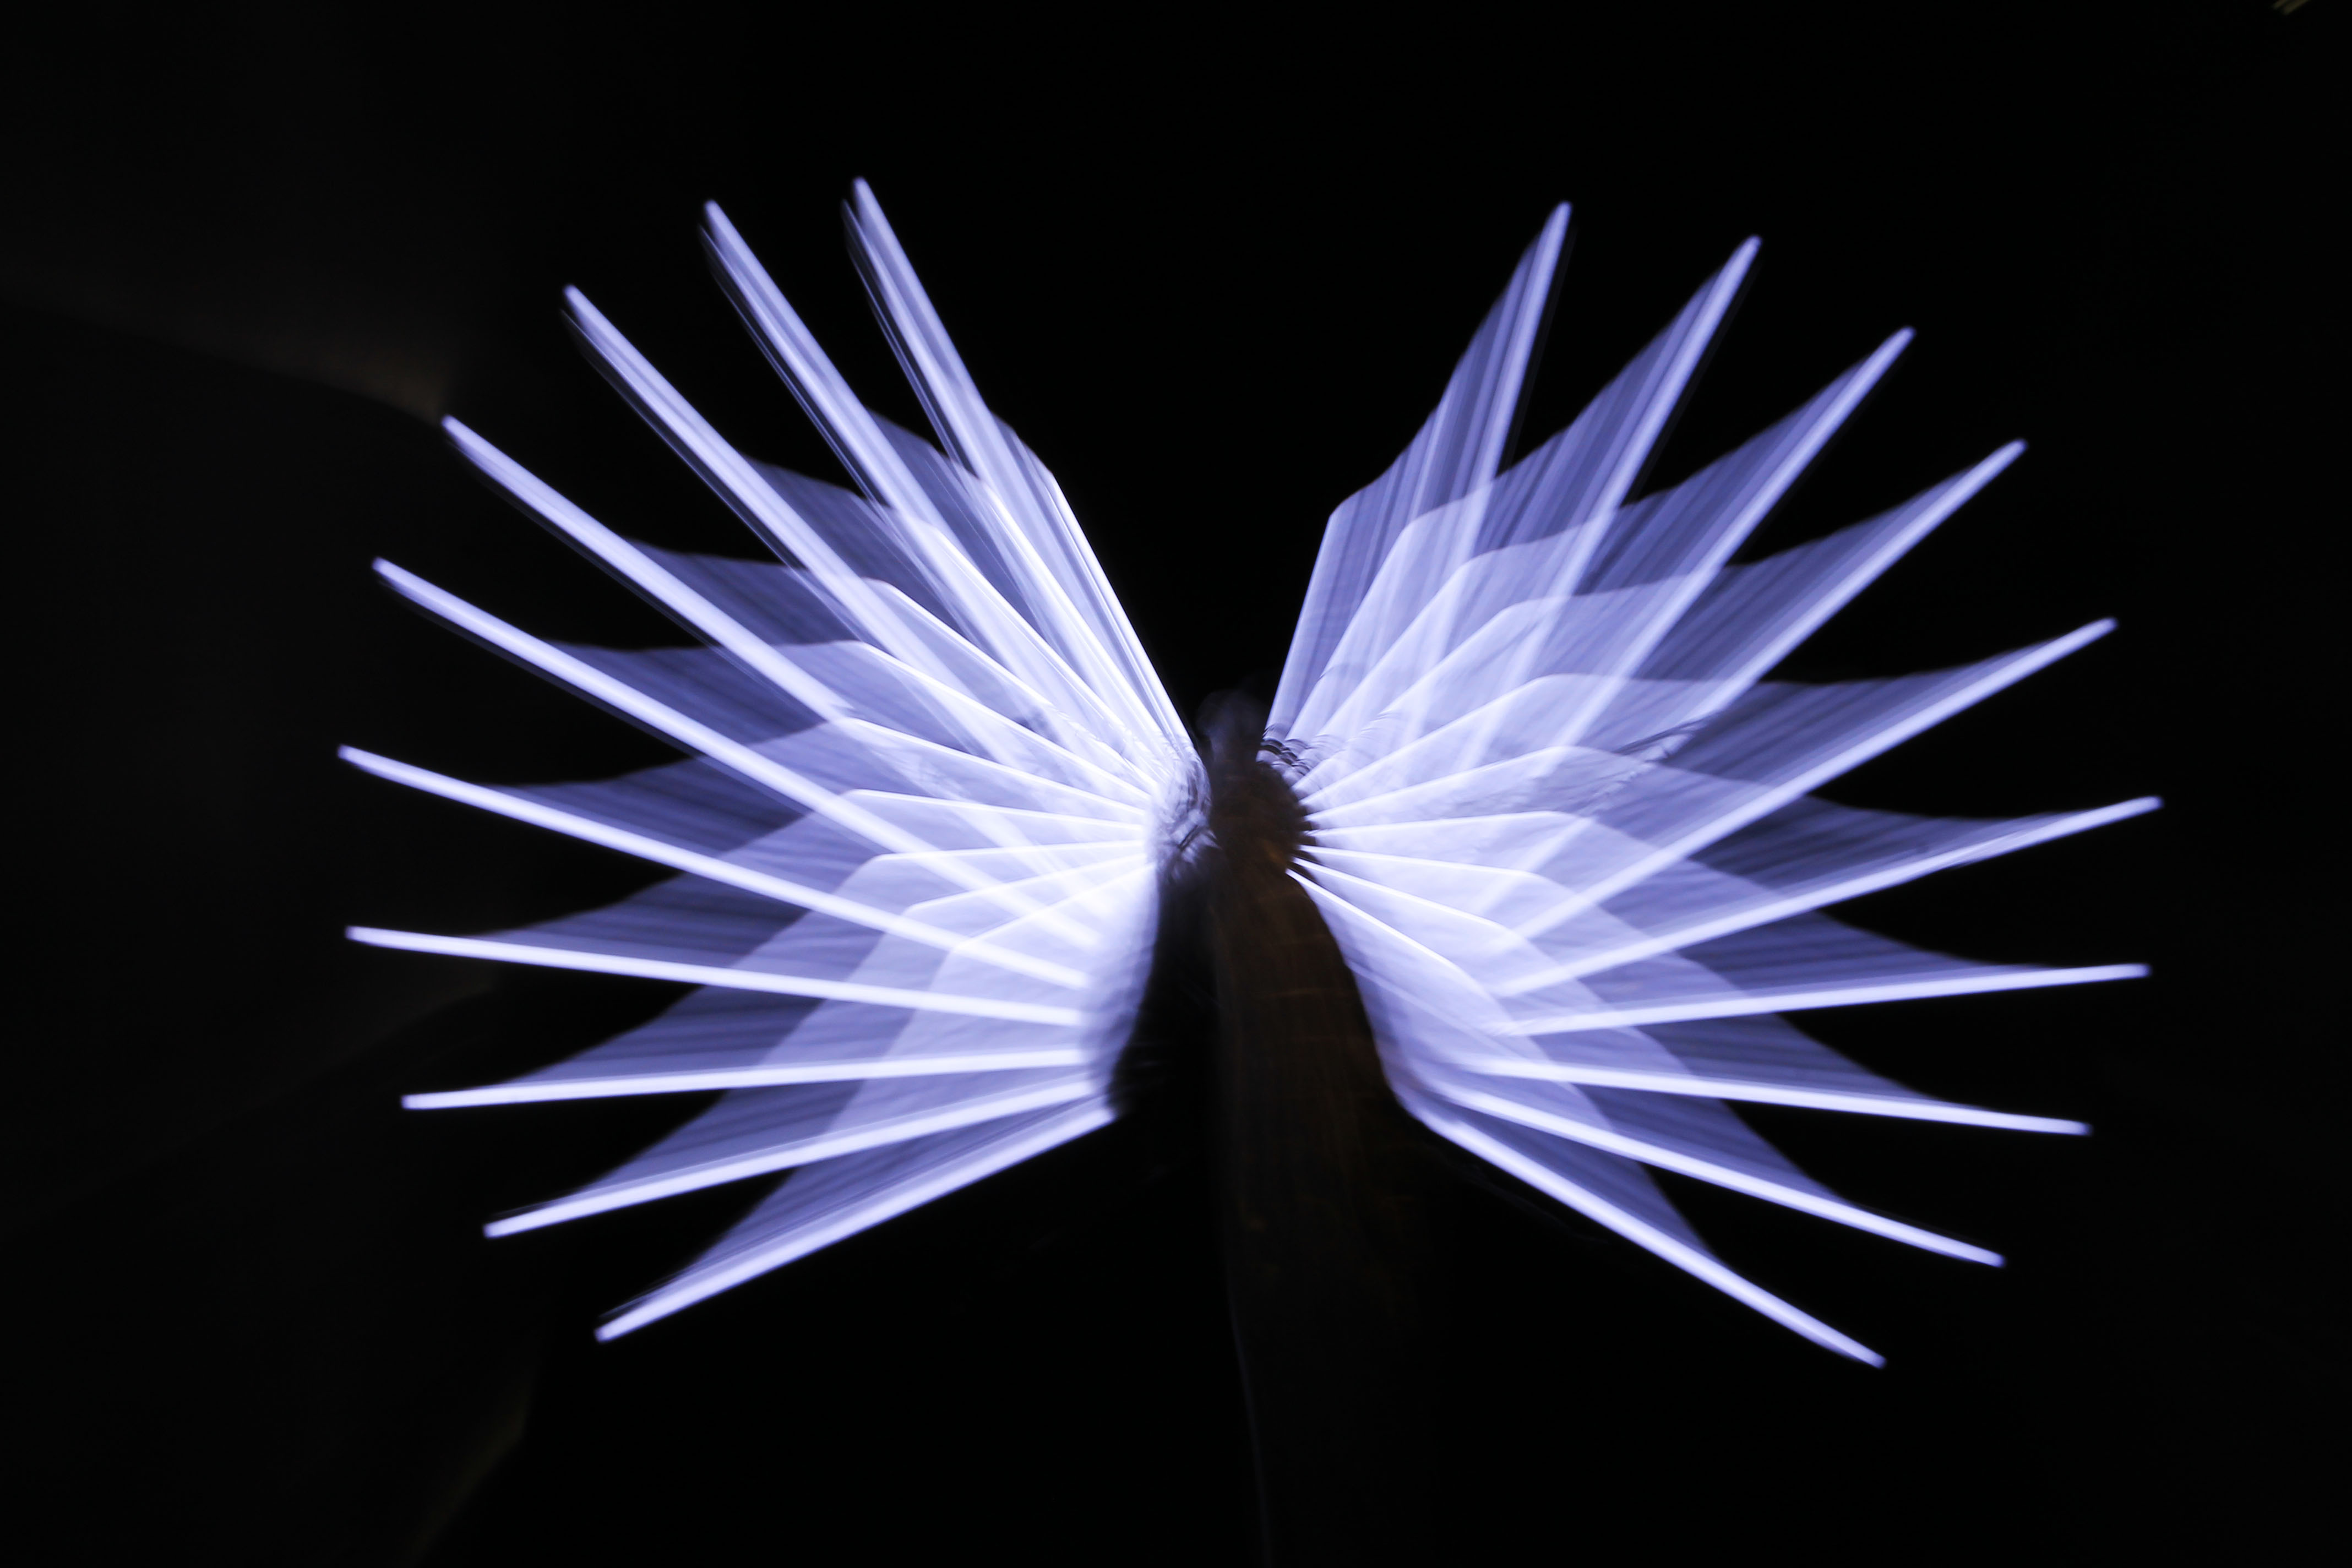
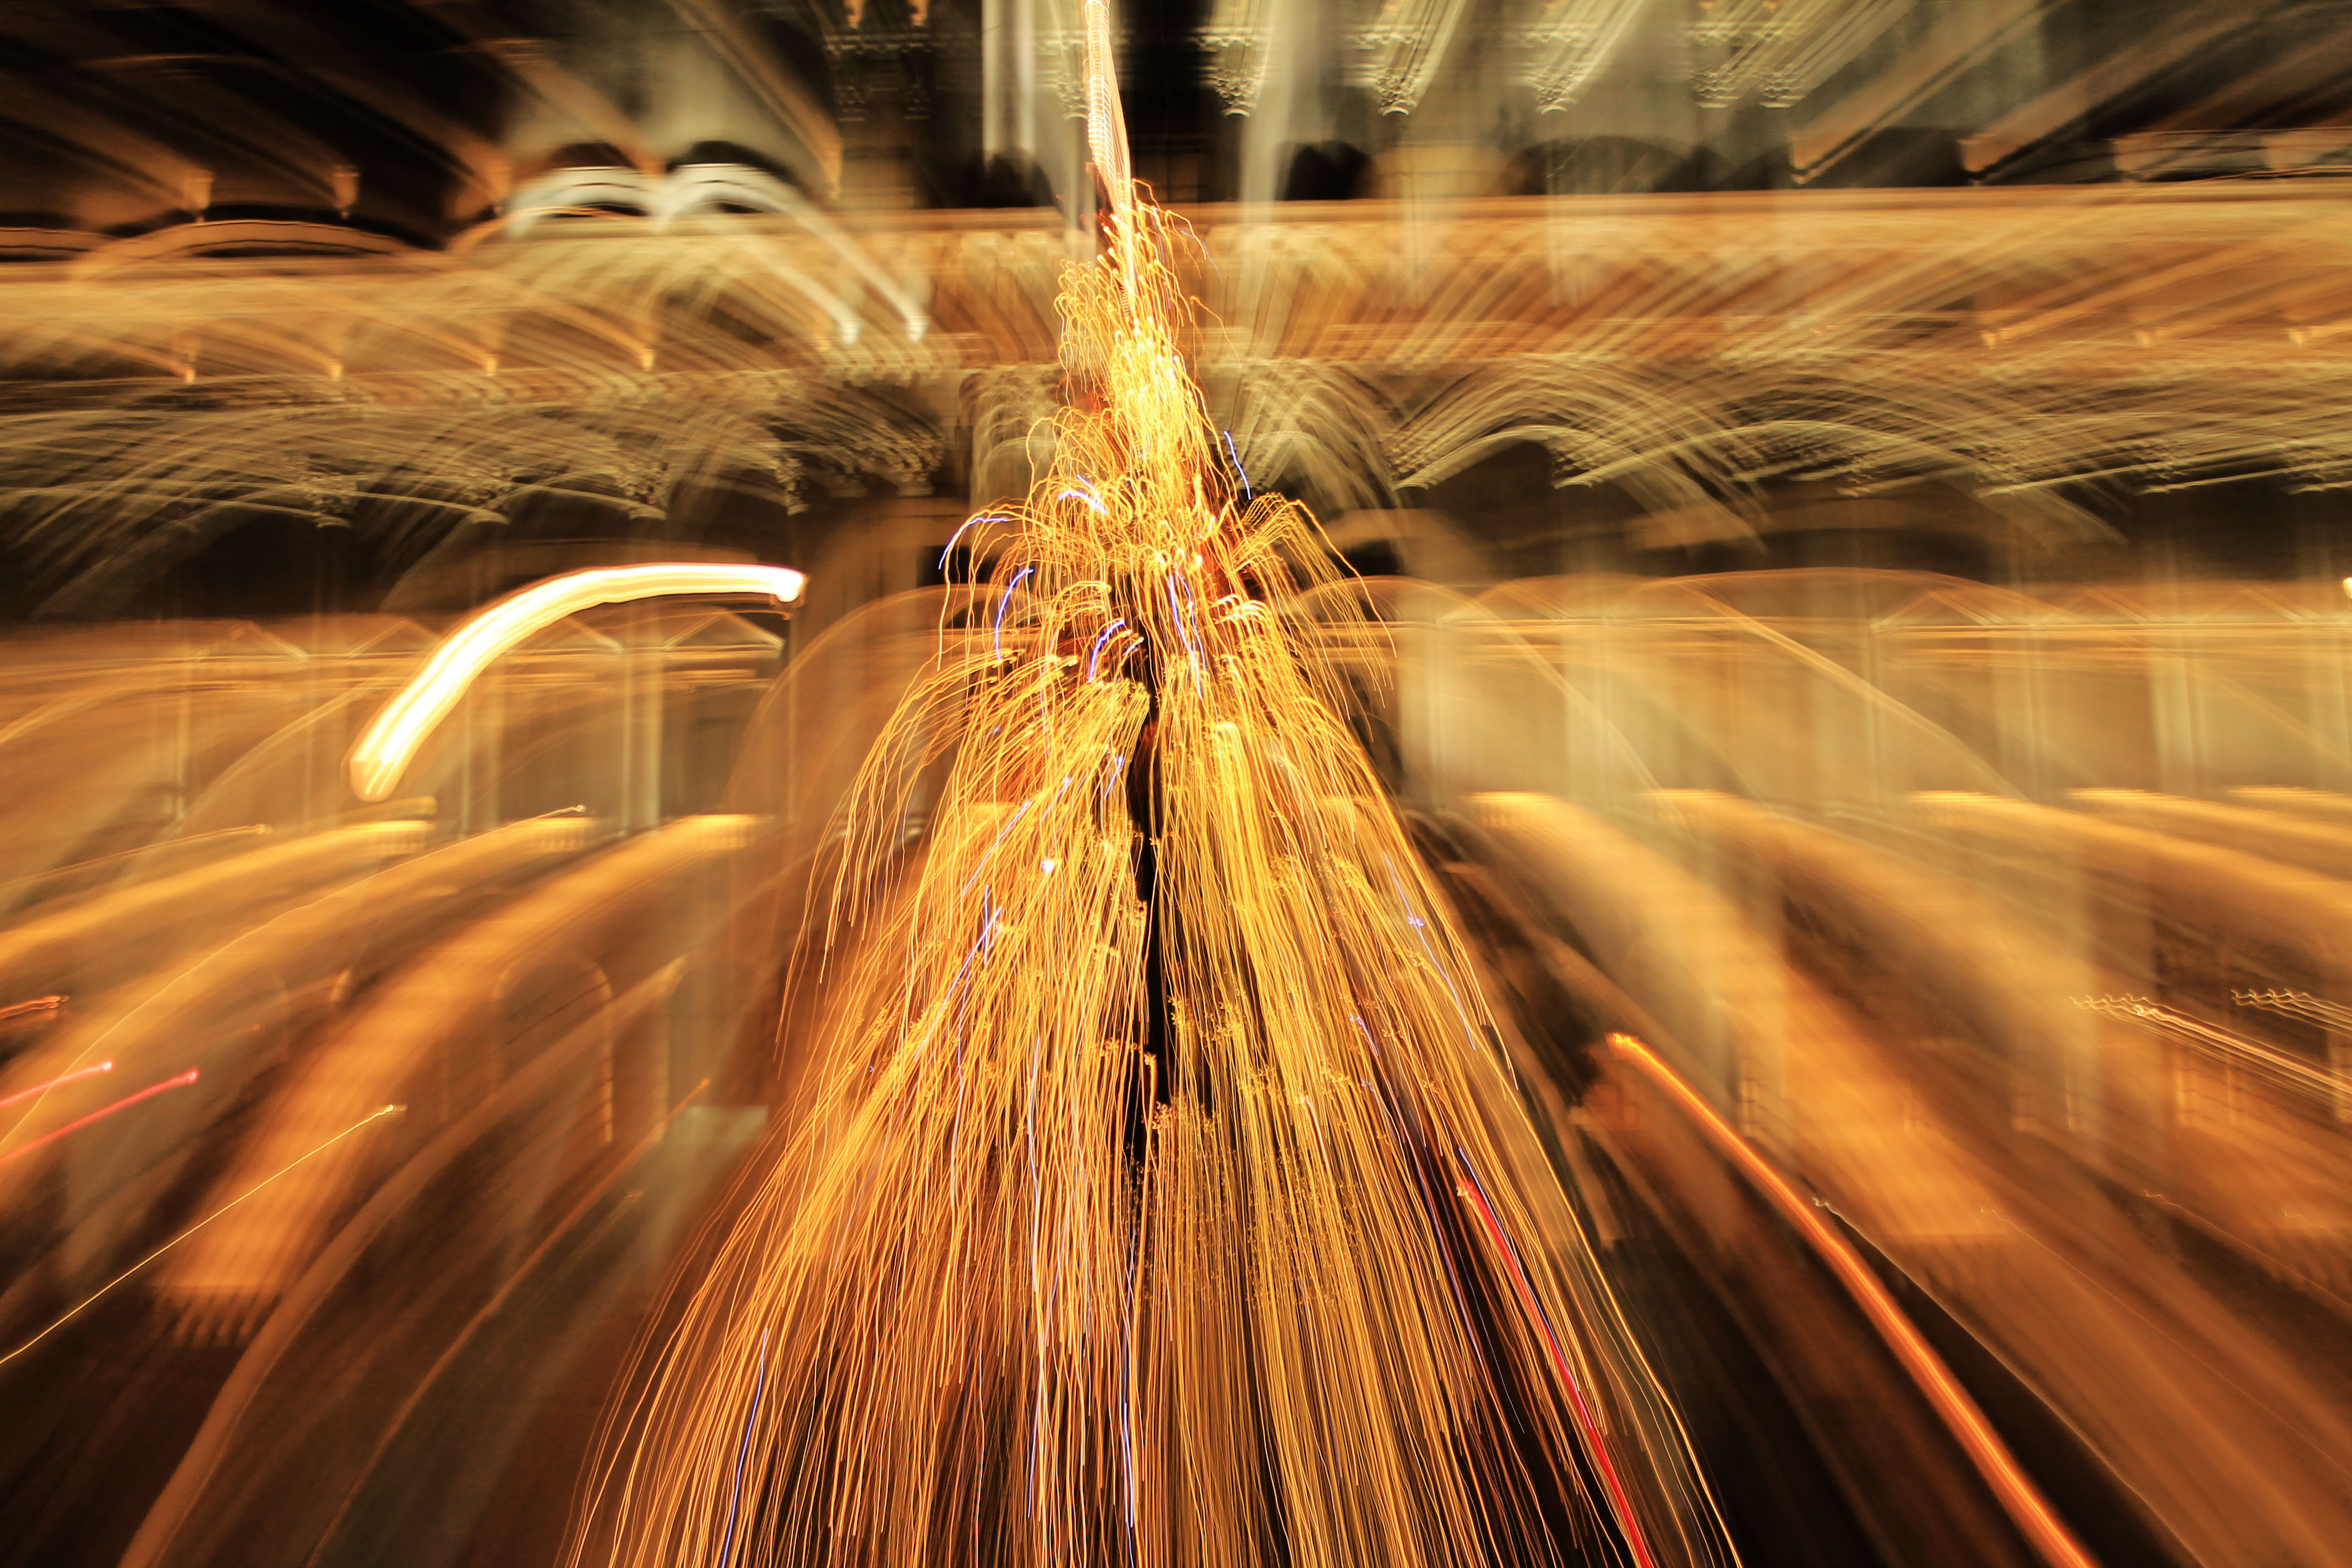
For my third response, I travelled around central London to Regent Street and Oxford Street where I could take zoom blur images of the christmas lights that have been put up there. I also went to Big Ben and the London Eye to do the same. This time, using a manual zoom blur, I incorporated the use of the flash button on the camera whilst taking photos. If done correctly, this will leave a part of the image in focus whilst also capturing the effect of the zoom burst.
|
|
|
|
Future Development Plans
For my future developments, I plan to move on to Cinemagraphs, which are still photographs in which minor movements occur, forming a video clip. I moved on from zoom blur beacause I felt that I had done everything I could with the topic, and that no more developments could be done. However, I have taken the overiding theme of movement in an image and will now incorporate that into my future work with Cinemagraphs.
CinemaGraph DEvelopment - 1st Response
For this development, I went to the Tate Modern to see their christmas fair, and took small videos capturing movement of objects such as a carousel. I then turned them into cinemagraphs on photoshop and the results are below. Generally, I am happy with the results, however I feel the videos themselves could have been in better quality. For my future development, I may work on eliminating all unwanted movement from my cinemagraphs, something I didn't quite achieve with the ones below. Next time I will also go during the day so that my videos will be better quality.
|
|
Cinemagraph Process
1. Before you import your clip in Photoshop, make sure you’re using the Motion Workspace by selecting Window > Workspace > Motion.
2. Then, open your clip with File > Open, and it will automatically open in the Animation Timeline.
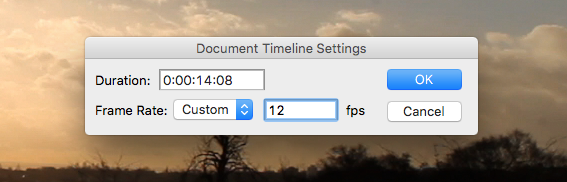
3. In the upper right hand corner of the Animation Timeline, open the drop-down menu and select Document Settings. Then, lower the frame rate to between 10 to 15 fps. I chose 12 fps for mine. This will help keep the file size from getting too big.
2. Then, open your clip with File > Open, and it will automatically open in the Animation Timeline.
3. In the upper right hand corner of the Animation Timeline, open the drop-down menu and select Document Settings. Then, lower the frame rate to between 10 to 15 fps. I chose 12 fps for mine. This will help keep the file size from getting too big.
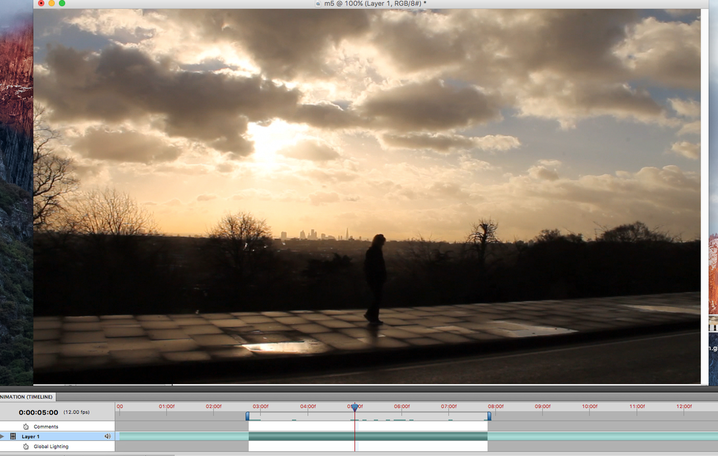
4. In the Animation Timeline, use the two blue scrubbers to select the frames you will use for your animation. Try to end the animation when your subject is stopping or moving out of the frame. In my footage, I selected frames when the cup was slowing and starting to roll in the other direction.
5. Open the Animation Timeline Menu again, then select Trim Document Duration to Work Area. This will get rid of the extra footage, so you can focus on the section you want to animate.
5. Open the Animation Timeline Menu again, then select Trim Document Duration to Work Area. This will get rid of the extra footage, so you can focus on the section you want to animate.

6. In the Animation Timeline, use the scrubber to select the frame that you want to freeze. This will be the “mask” for your animation.
7. Once you’ve chosen the frame, leave the scrubber there, then create a new layer by selecting:
8. Name this layer “Still Moment” or something else you’ll remember. Then, you’ll notice this layer in the Layer Widow.
7. Once you’ve chosen the frame, leave the scrubber there, then create a new layer by selecting:
- Select > All
- Edit > Copy
- Layer > New > Layer
- Edit > Paste
8. Name this layer “Still Moment” or something else you’ll remember. Then, you’ll notice this layer in the Layer Widow.
9. Change the Opacity of the Still Moment layer to 50%.
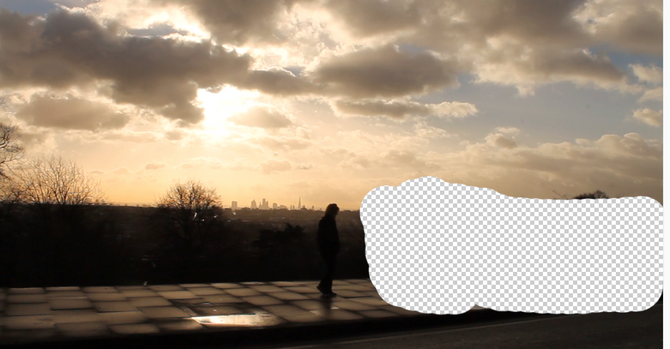
10. Using the scrubber and the Eraser Tool on the Still Moment layer, erase around your subject. You are essentially creating a hole in the mask, so you can watch the rest of your animation.
10. Using the scrubber and the Eraser Tool on the Still Moment layer, erase around your subject. You are essentially creating a hole in the mask, so you can watch the rest of your animation.
11. Watch your animation.
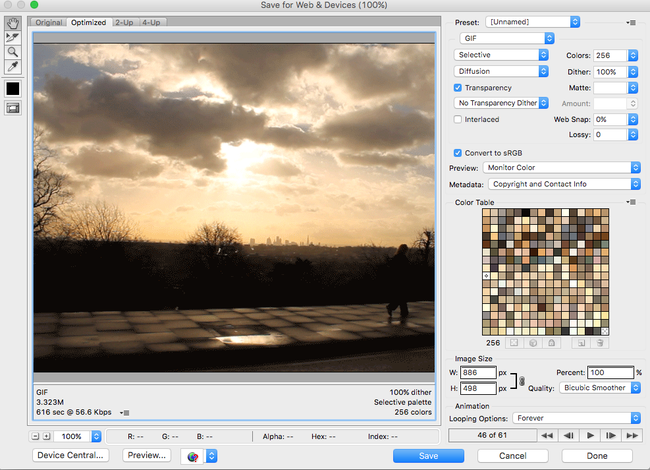
12. To Save - File > Save for web and Devices > Select Diffusion in dither drop down > 100px width > Looping options > Forever > Save.
2nd Response
|
|
Artist And ME
|
|

|
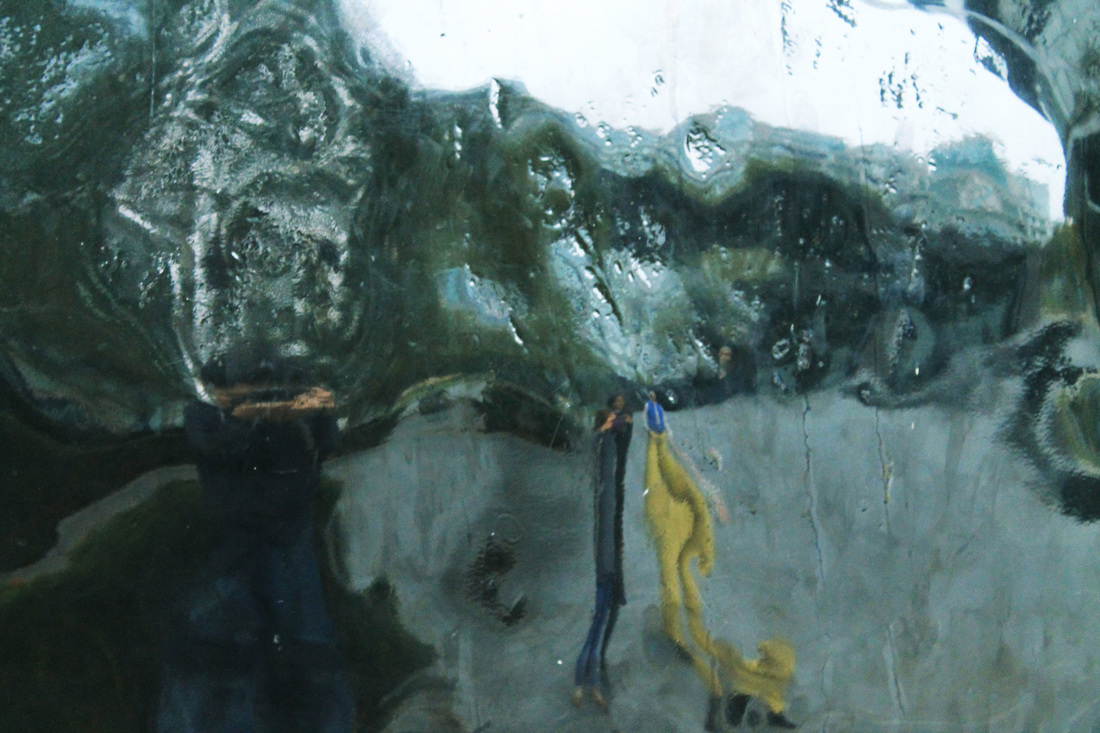
The artists work (on the left) is by Mason Drumm, who used Cinemagraph Pro to create his cinemagraph, whereas I used Photoshop. I think both cinemagraphs are framed well, however both convey different atmospheres. The artist has used a black and white colour scheme, whereas I have used a brighter colour palette. Combined with the setting of the two cinemagraphs, this results in a moodier tone for the artists work and a lighter, winter morning mood for my work. Both cinemagraphs also have an interesting abstract feature; the subject in my cinemagraph disappears behind another person whereas only a reflection in a puddle moves for the artists cinemagraph, with the real world at a standstill.
Final Piece
Unedited Video
Final CinemaGraph
After editing the video above using the selective colour tool to increase the contrast of the video, I used the Cinemagraph Process that I described earlier in the topic. My aim was to just get the water of the Thames to move, with the rest of the cinemagraph e.g. buses on the bridge and birds in the sky at a standstill. I am very pleased with the cinemagraph as everything in the foreground and background is exactly how I intended it to be. I feel that it captures a sunset in London really well, with Big Ben towering over a line of red buses on the bridge to a orange, sunset sky backdrop. It is also a good final representation of Abstraction, with everything I had previously done leading up to this. The final result is below.